3D characterization of microstructures, roughness & finish with sub nm-resolution

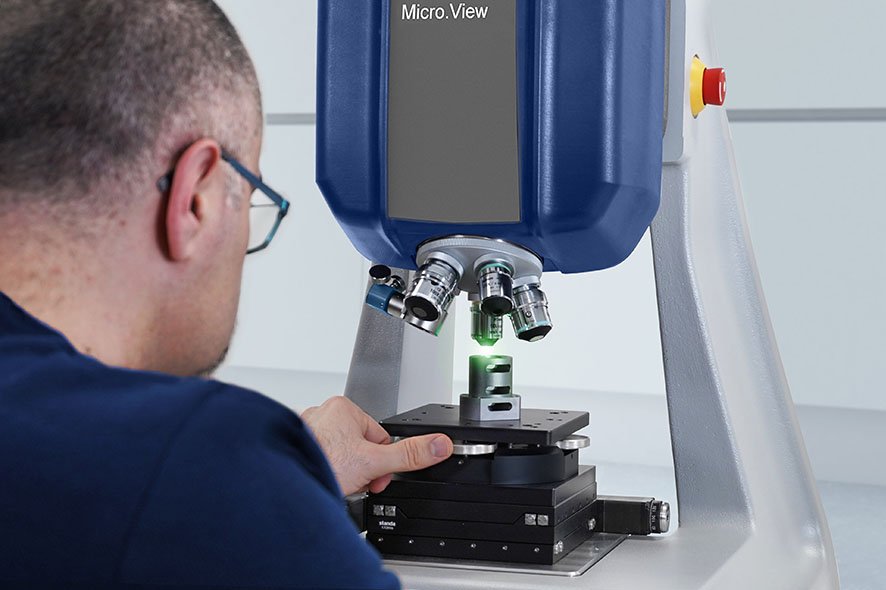
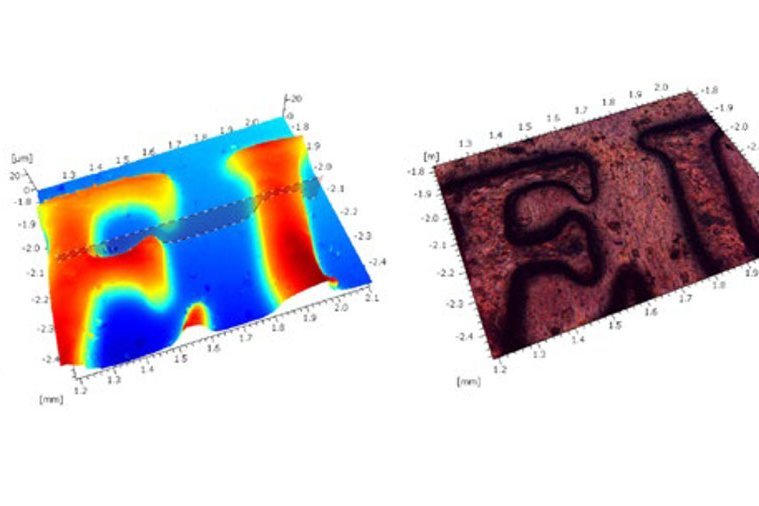
Micro.View® and Micro.View®+ are the next generation optical surface profilers. The Focus Finder and Focus Tracker greatly enhance the ease of use under all conditions, and, the CST Continuous Scanning Technology allows for using the entire travel range of up to 100 mm as extended measurement range. Distinguish and document defects and visual distortions with the latest color information imaging analysis. Quantify surface topography with sub-nanometer resolution and capture the finest details reliably. 

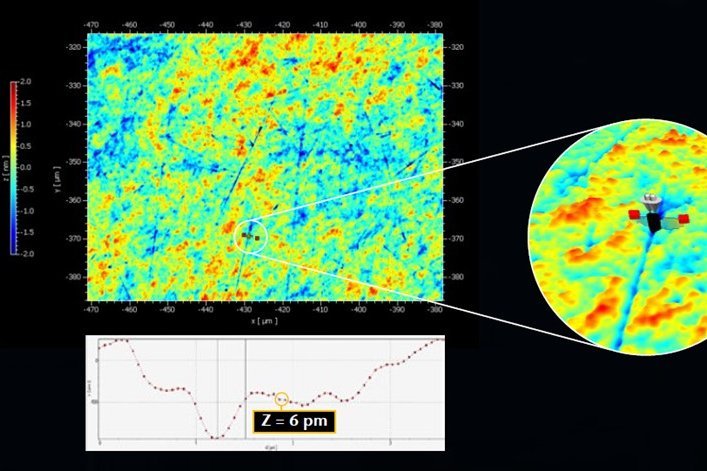
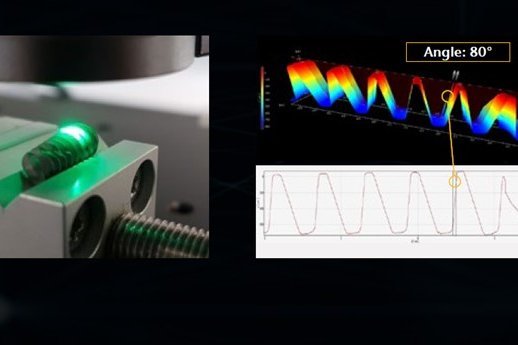
Characterize small details and microstructures with an areal 3D measurement, describe areal surface roughness Sa with sub-nm resolution and evaluate high slopes and steep angles with interferometric precision. Demo, free feasibility, specific evaluation parameters and custom configuration - contact us!

Dear visitor, in order to be able to watch our videos please accept the cookies. All information about the usage of cookies can be found in our privacy policy

Xperts inside! Next generation optical surface metrology

With nearly 60 years of experience in optical metrology, we are on the mission to push the limits of what is possible. Powerful surface metrology is not only hardware. Reliable quality inspections also depend on know-how, insights and experts. The new Micro.View® and Micro.View®+ are the next generation optical surface profilers from Polytec. Read more, how Focus Finder and Focus Tracker enhance the ease of use, how the CST Continuous Scanning Technology expands the vertical measurement range and how sub-nanometer resolution measurements capture the finest details.

Table-top optical profiler Micro.View®

TopMap Micro.View® is an easy to use and compact optical profiler. Combine exceptional performance and affordability with this powerful profilometer. Its extended 100 mm vertical measurement range combined with the innovative CST Continuous Scanning Technology enables topography anaylis at nm resolution with plenty of freedom for sample handling and positioning.This conventient table-top setup of an optical profiler features integrated electronics and a smart feature called Focus Finder for simplified, fast and efficient areal surface characterization for quality control.


Modular (automated) optical surface profiler Micro.View®+

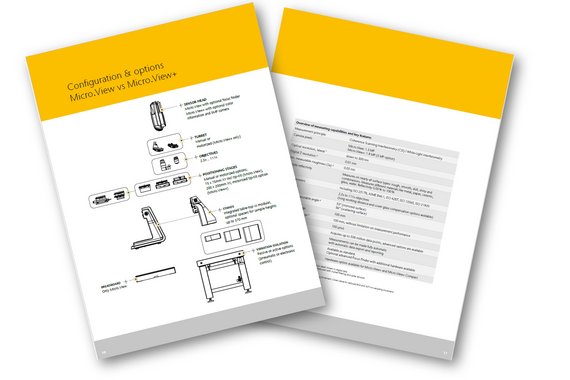
TopMap Micro.View®+ represents the next generation of optical surface profilers more than any other measurement system within the TopMap line. Micro.View®+ delivers the most detailed topography analysis, detecting all surface details like roughness, texture and microstructure topography. Designed for modularity, this comprehensive surface profiler remains flexible for adaptions to production environements, to application-specific configurations and even semi or fully automated quality control processes. Combine 3D measurment data with color information for amazing visualizations and extended analysis including professional documentation of defects and artefacts. The built-in high-resolution camera delivers incredibly detailed 3D data visualization of all engineered surfaces. The encoded and motorized turret provides seamless switching of microscope objectives. The optical profiler Micro.View®+ also features the latest Focus Finder plus Focus Tracker, keeping the surface in optimum focus at all circumstances. The fully motorized sample positioning stages allow for stitching and automated inspections.


Measurement performance & capability figures

Micro.View and Micro.View+ are surface profilers based on the Coherence Scanning Technology (CSI), showing exceptional vertical resolution independent from the objective magnification. Continuous Scanning Technology (CST), sub-nm resolution, an up to 5 MP camera, a multitude of objectives from 2.5X (0.6X!) to 111X including long working distance and cover glass compensation options, a 100mm Z travel and vertical measuring range without performance limitations, as well as preset ISO parameters including ISO 25178, ASME B46.1, ISO 4287. ISO 13565, ISO 21920... 

Test and experience this surface profiler, ask for a free demo or feasibility study! 

Free guide on how to: Measurement System Analysis

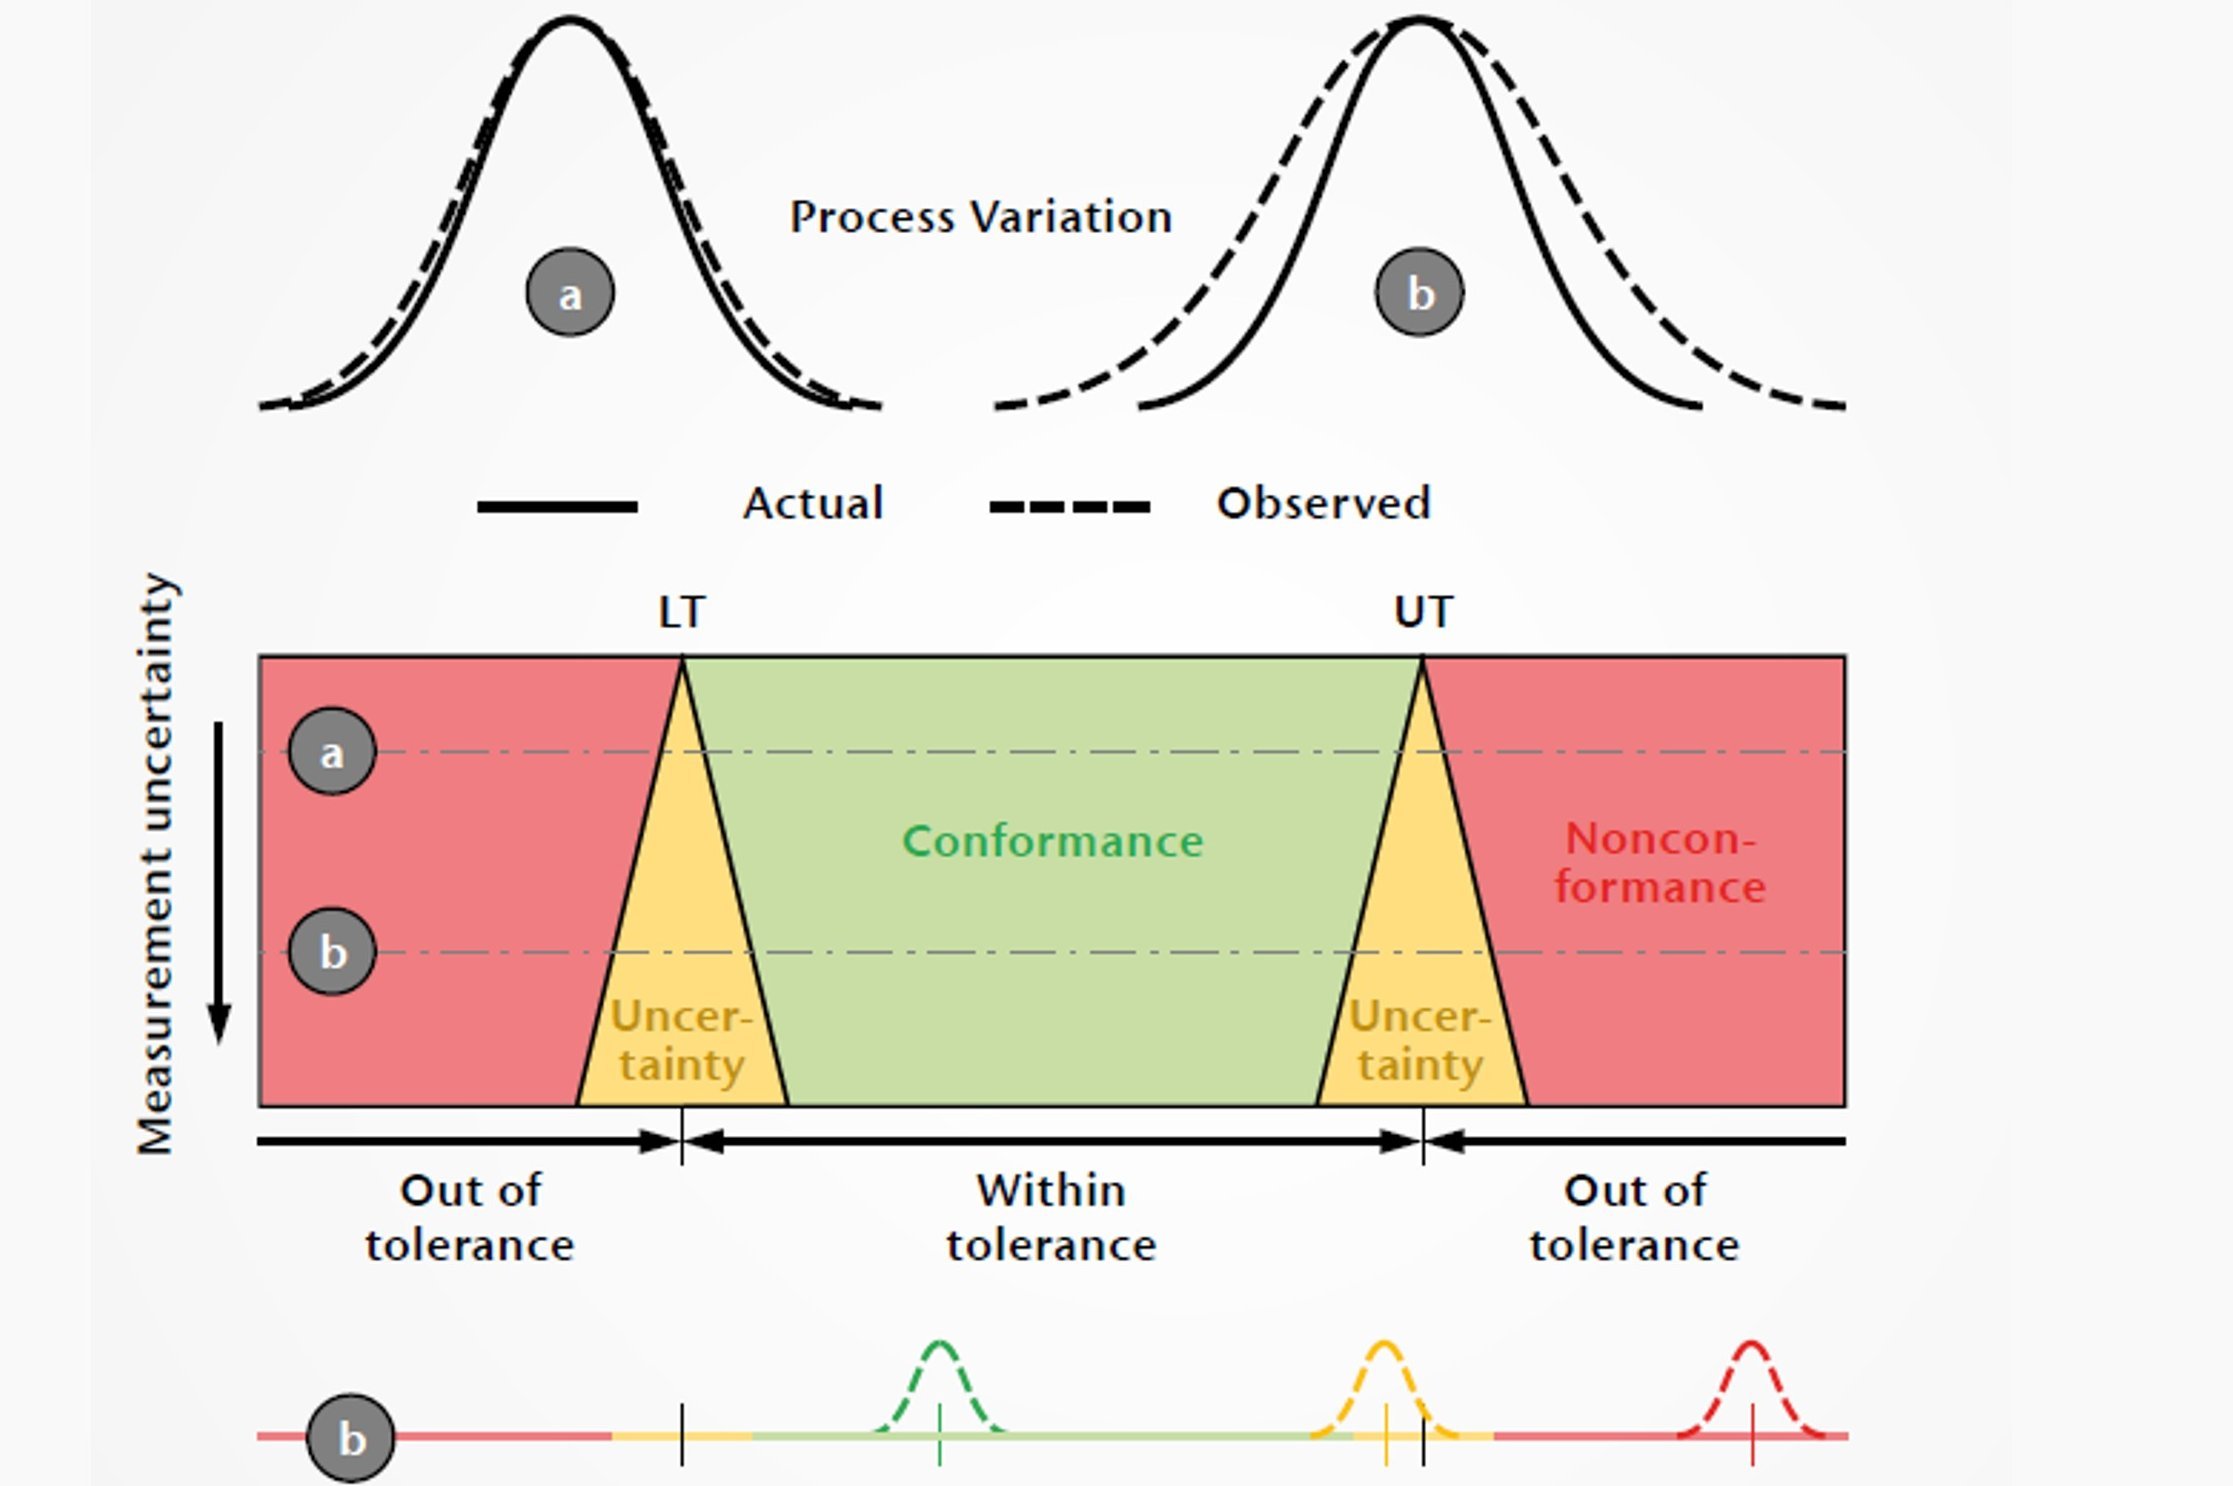
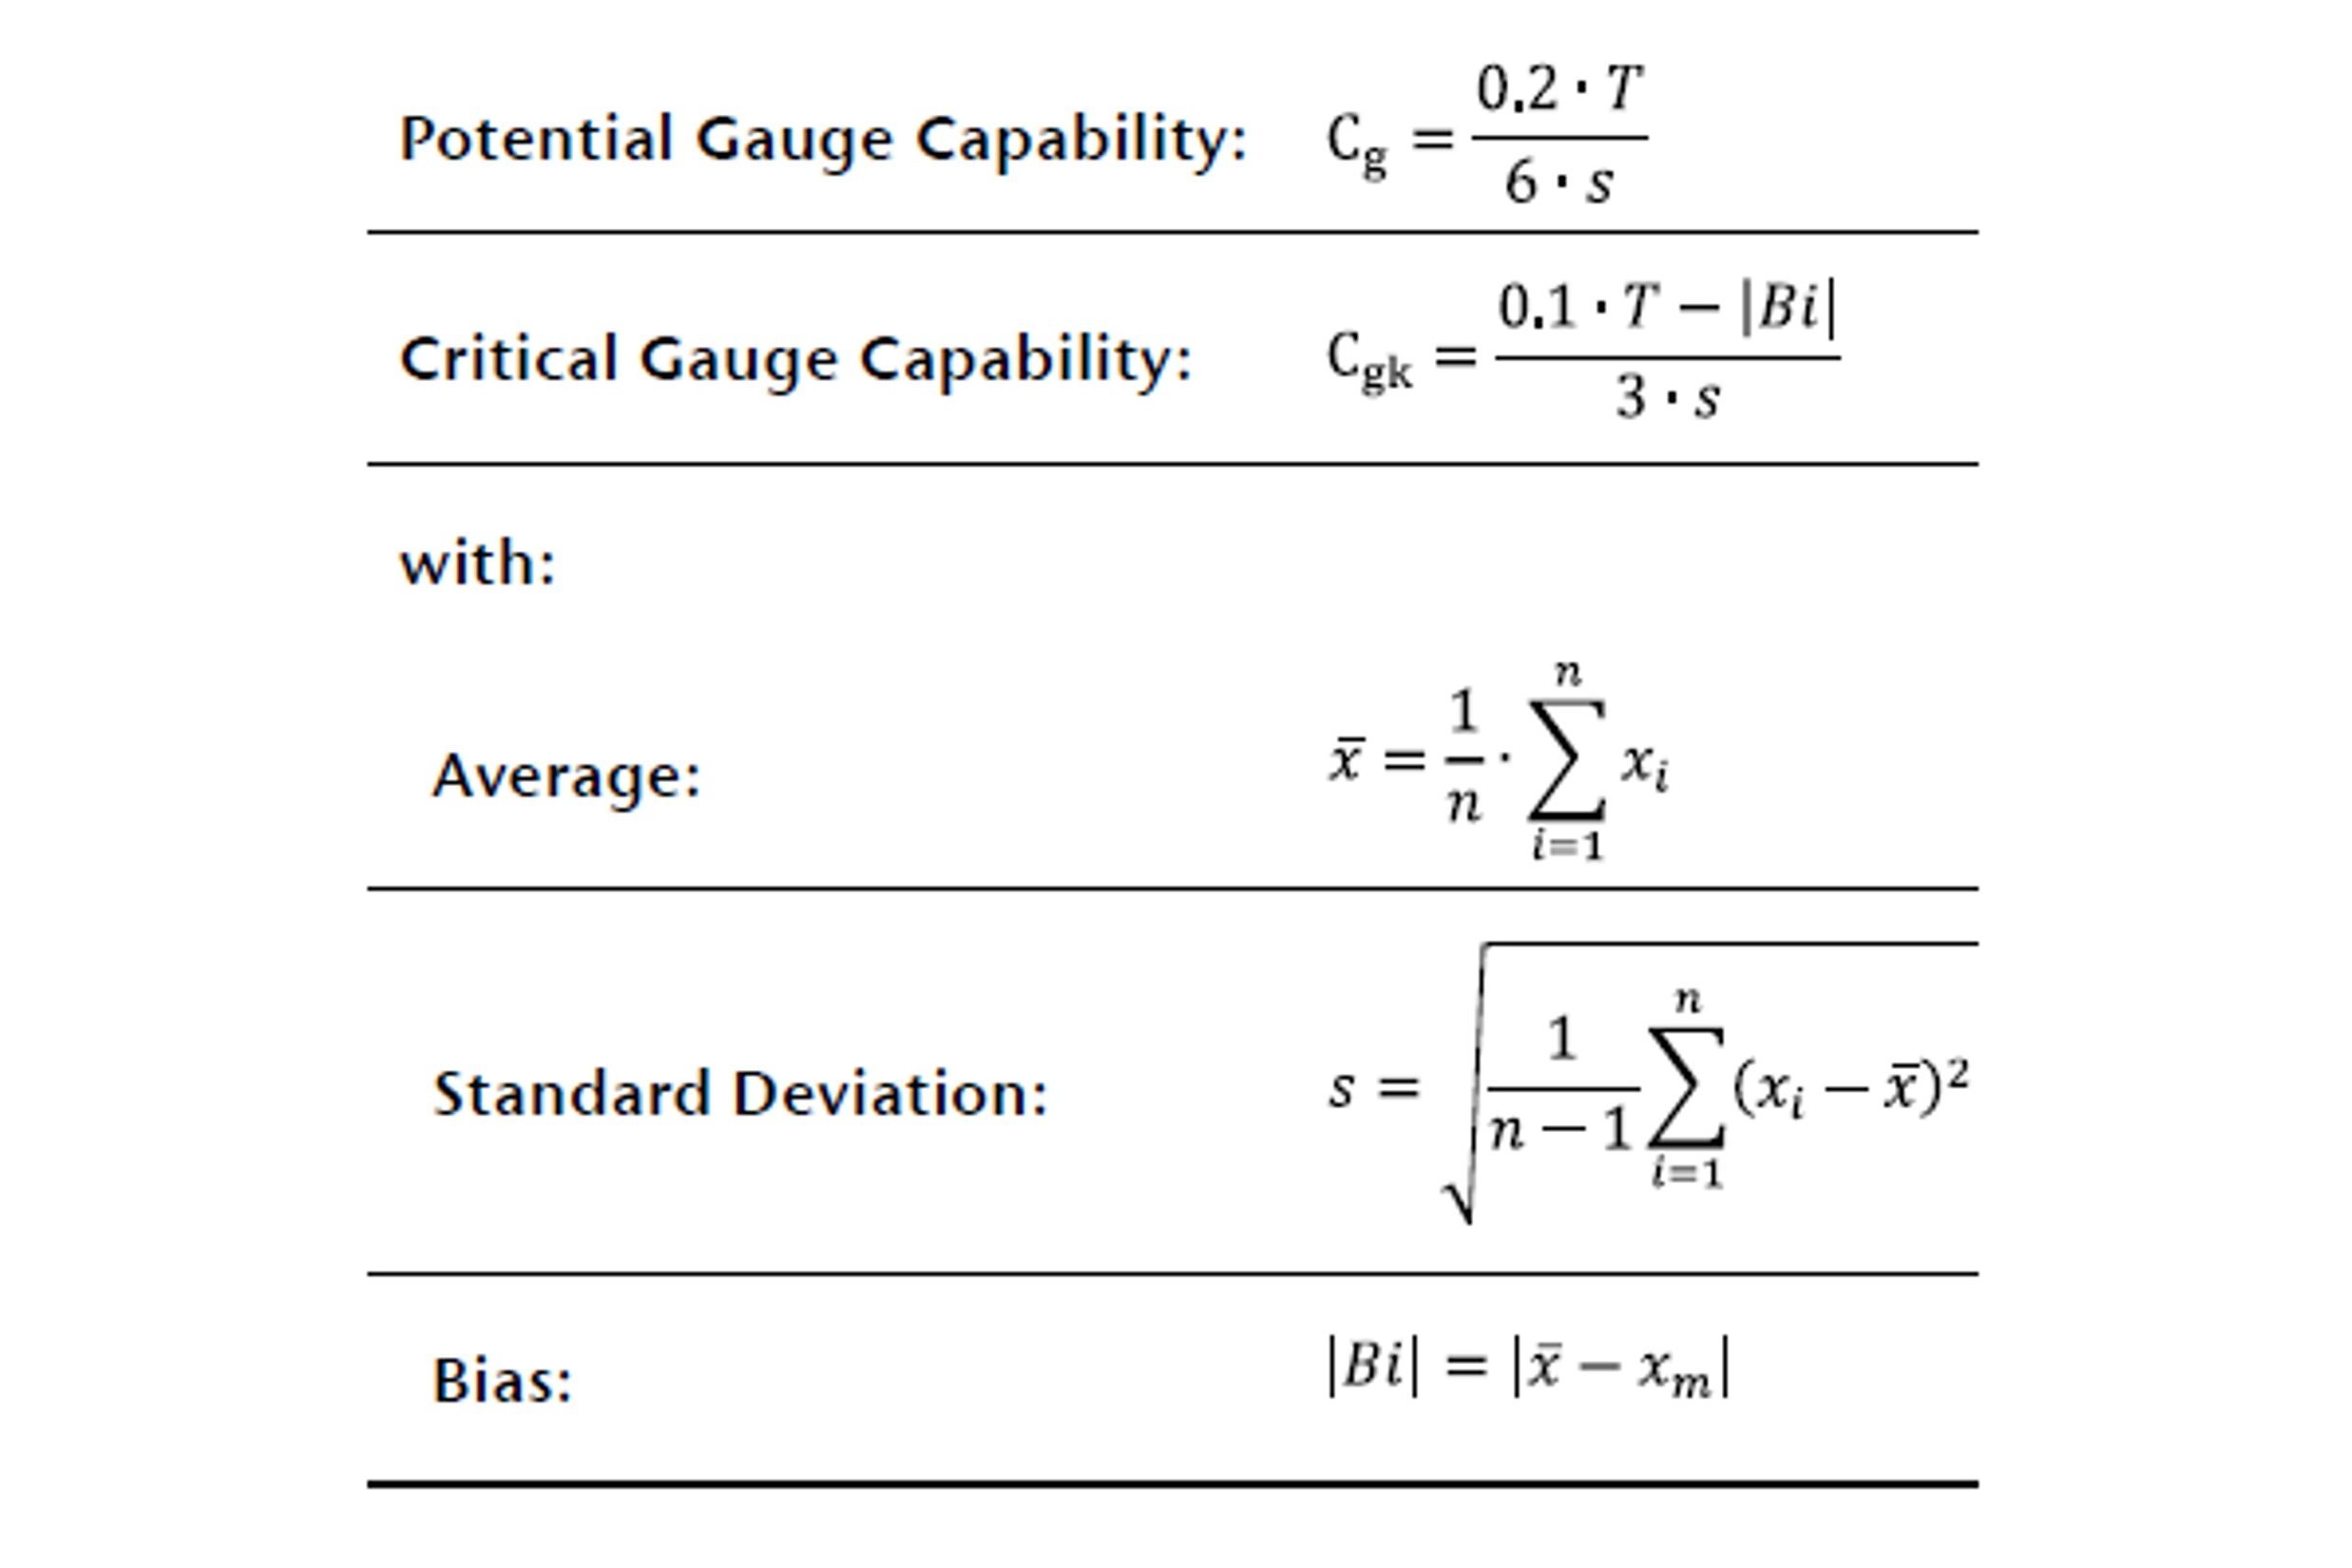
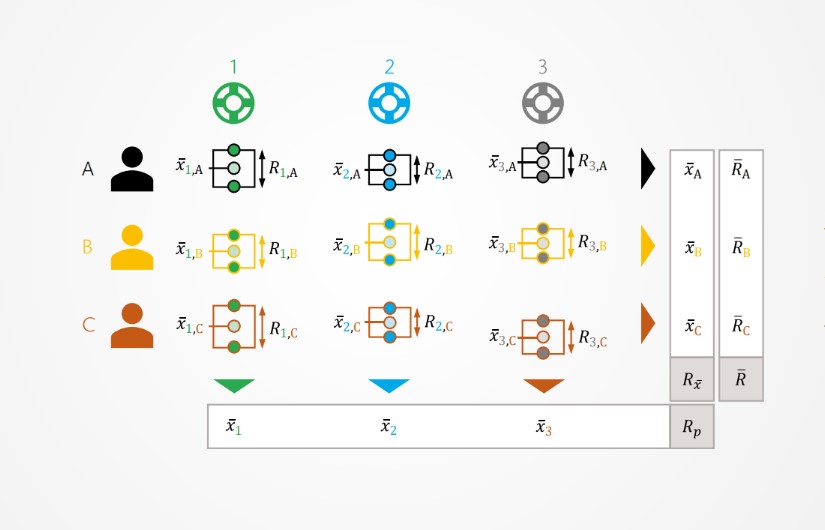
Every measurement - whether with tactile or optical surface profilers - is subject to uncertainty. The measured values obtained are the basis for quality-controlled production and are thus a key component of quality assurance. However, the correctness of any conclusion drawn by a measurement depends not only on the suitability of the parameter, but also on how accurately and how reliably the measured values reflect the real conditions. Only if the measured value can be determined with a sufficiently small uncertainty in relation to the tolerance of the characteristic, the measurement process is suitable for the inspection task. This paper describes approaches and helpful capability figures of Measurement System Analysis (MSA).

Read in the free guide how to deal with measurement uncertainty for your Quality Assurance!


Dear visitor, in order to be able to watch our videos please accept the cookies. All information about the usage of cookies can be found in our privacy policy

TopMap - the family of optical surface profilers

Meet TopMap - the series of optical 3D surface profling or measurement systems are in their element in all operations where the finest components and structures need to be inspected. Non-contact white-light interferometry allows measurements with a resolution in the nanometer or even subnanometer range. And it’s for this very reason that Polytec’s TopMap devices have become standard tools in the field of industrial quality control.

See all our surface profilers


Join our journey!

Join us on our journey: From first ideas to prototyping, development until making our vision of the next generation surface profilers come true. On that journey, meet the PolyXperts, take a look behind the scenes and listen to what the people behind the TopMap brand expirienced during this genesis of our optical surface profilers Micro.View® and Micro.View®+.

Dear visitor, in order to be able to watch our videos please accept the cookies. All information about the usage of cookies can be found in our privacy policy

How optical profilers capture the finest details

Micro.View® keeps an eye on the details, seeing beauty even within the tiniest surfaces, vizualizing the measured data in colorful and excellent resolution, just like here. Guess what you see here!


Dear visitor, in order to be able to watch our videos please accept the cookies. All information about the usage of cookies can be found in our privacy policy

We are modular

Flexibility with modular configuration is what we wanted. A 100 mm z-range, motorized tip/tilt stage and encoded objective turret are a few of the options. The + in Micro.View+ stands for smart configuration, automation ready, in-line integration and accurate analysis of roughness, texture, microstructures and tribology.

What would be your setup?


Dear visitor, in order to be able to watch our videos please accept the cookies. All information about the usage of cookies can be found in our privacy policy

We are enlightened

Light is our element! White-light brings out the finest details of your precision engineered surfaces. Microscope objectives characterize surface finish and quantify how rough or smooth. Focus light on your engineering, without bias or contact.

What do you focus on?


Dear visitor, in order to be able to watch our videos please accept the cookies. All information about the usage of cookies can be found in our privacy policy

We measure surfaces

We had a vision! We had our mock-up. We had questions. We had fun, and most importantly, success! From now on, the easy-to-interpret visualizations of 3D measurement data shall speak for themselves. It may look like art, but it is in fact your precision engineered surface – just in high resolution. Pure 3D data, without contact, without influencing the measurement itself.

Which surfaces do you measure?


Dear visitor, in order to be able to watch our videos please accept the cookies. All information about the usage of cookies can be found in our privacy policy

We are handcrafting

We had a vision! Using 100% recycled material in our 3D surface profilers, we started with this lightweight mockup, connected an xy stage and watched… well, it did not measure any surface data, but at least we stayed eco-friendly.

What surface parameters do you measure?


Dear visitor, in order to be able to watch our videos please accept the cookies. All information about the usage of cookies can be found in our privacy policy

We are Xperts! Hi, Jan and Matthias!

Join us, when Matthias from our Technical Sales Team and Application Engineer Jan spill the beans about automation possibilities with the new TopMap and explain  how high-tech-geeks become excited like kids in candy stores. 

What do you want to automate?


Dear visitor, in order to be able to watch our videos please accept the cookies. All information about the usage of cookies can be found in our privacy policy

We are Xperts! Hi, Sebastian!

Screams of despair from his office and rollercoaster rides through crash testing – R&D Project Manager Sebastian tells the inside story. What do you think he answers, when asked about the extension of being hacked off from the Sales team? 

What do you wanna know?


Dear visitor, in order to be able to watch our videos please accept the cookies. All information about the usage of cookies can be found in our privacy policy

We are Xperts! Hi, Özgür!

What fills an enthusiastic Product Manager with pride, why is a hairdresser essential for this product launch? And, can an unexperienced user really perform complex measurements? Find out when we talk to PolyXpert Özgür!

What are you proud of?


Dear visitor, in order to be able to watch our videos please accept the cookies. All information about the usage of cookies can be found in our privacy policy

We are crash testing

Reliability is all about trust. To earn yours, we test our products in harsh environments ... really harsh. Besides, we think super slow-mo videos are super impressive, super awesome and super dramatic. Join us while we're crash testing!

What are you testing?


Dear visitor, in order to be able to watch our videos please accept the cookies. All information about the usage of cookies can be found in our privacy policy

We are shaking

Precision is the DNA of our optical surface metrology systems. We put our systems through some tough tests to ensure performance even in the most challenging environments.  Besides this cheap looking bubble-wrap, all components are the best of their class.

What do you inspect?


Dear visitor, in order to be able to watch our videos please accept the cookies. All information about the usage of cookies can be found in our privacy policy

We are baking

Germans are not only good at bread baking… With over 50 years of experience in optical metrology, we put our grandmothers‘ finest recipes to the test. Baking in environmental chambers requires patience with a touch of magic to yield such captivating results and high-fidelity 3D measurement data. 

What do you measure?