Checking tightness without contact
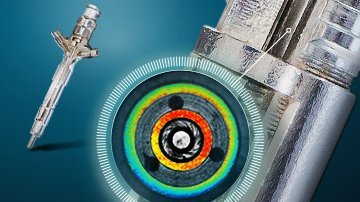
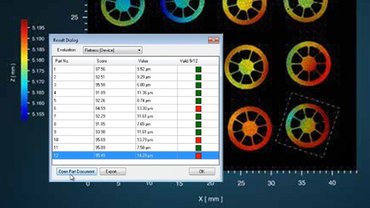
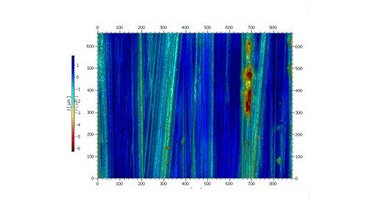
The quality of sealing surfaces has a decisive influence on connections not being ‘leaky’ in the long run. If this is to be achieved, the surface’s geometric properties must be defined as precisely as possible so that the intended function – in other words, “leak-tightness” – is fulfilled. Leaks can occur particularly if the contact surfaces’ form deviation is outside defined tolerances. This risk can be prevented by using Polytec’s surface measurement systems. Using these products allows you to characterize tightness not only in the lab, but also during production. Thanks to the contactless measuring method, both the form and consistency of the sealing surfaces to be inspected are maintained and the measurement results can be repeated at any time. The Polytec systems are easy to use and make for a fast analysis process.
Polytec Magazine
Surface metrology tailored to your QC needs
Confirm flatness, roughness and step height

Where surface inspections need to comply with cycle times
Polytec 3D surface metrology systems are “in their element” in all production operations where tight cycle times have to be complied with. This situation is a particularly frequent one in the automotive industry – for example where injection systems, Piezo common rail systems and compressors are used, and for motor development in general.


