Measure surface roughness optically
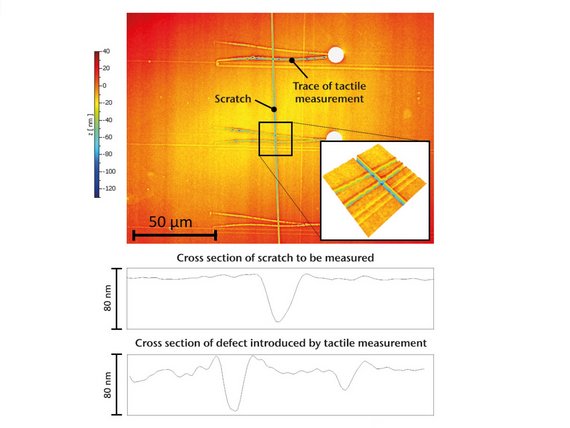
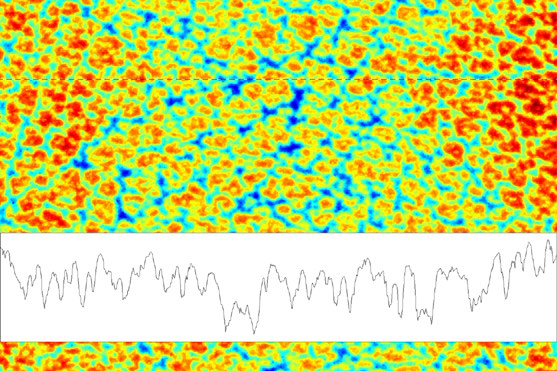
Surface topography and its structural details like surface roughness is traditionally inspected using tactile stylus-based profilometers (stylus instruments) by guiding a probe tip over a workpiece surface and detecting each vertical deflection by the surface texture. With this method, the information about the surface topography including surface details like roughness is obtained along a 2D profile. It is questionable to which extent profile-based information could describe surface characteristics and provide function-oriented information.
Optical vs tactile surface roughness and texture measurement
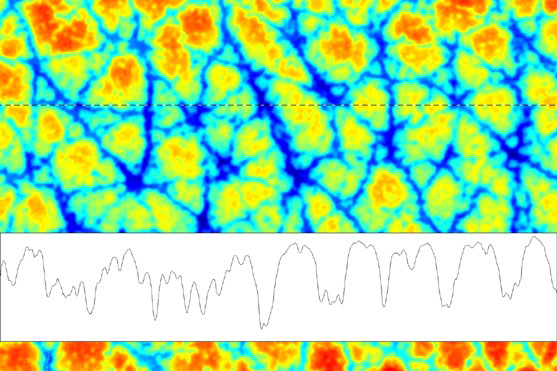
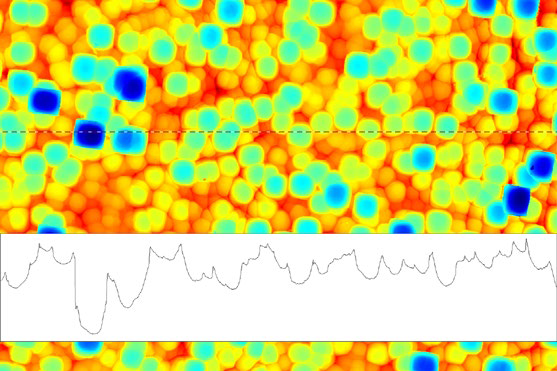
If the surface has randomly distributed features, the result for the roughness parameter is strongly influenced by the measuring position. In many cases, profile-based surface description is insufficient to provide information about functional behavior of the surface. Profile based surface characterization allows only limited information about the cause of poor functionality and so includes limited information for quality control purposes.
How to quickly measure surface roughness in 3D
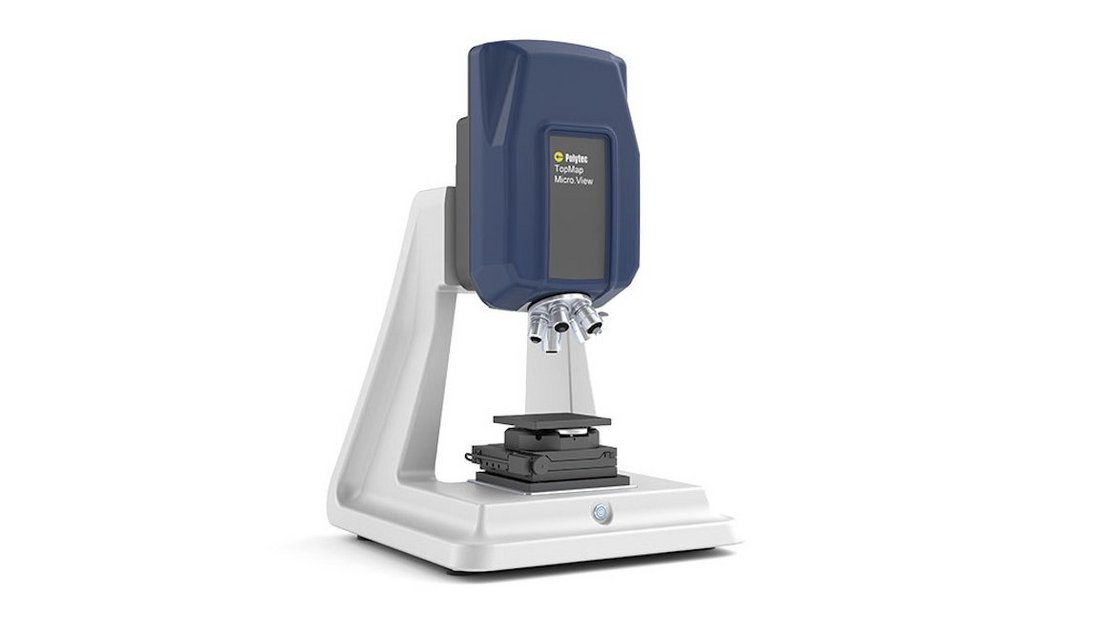
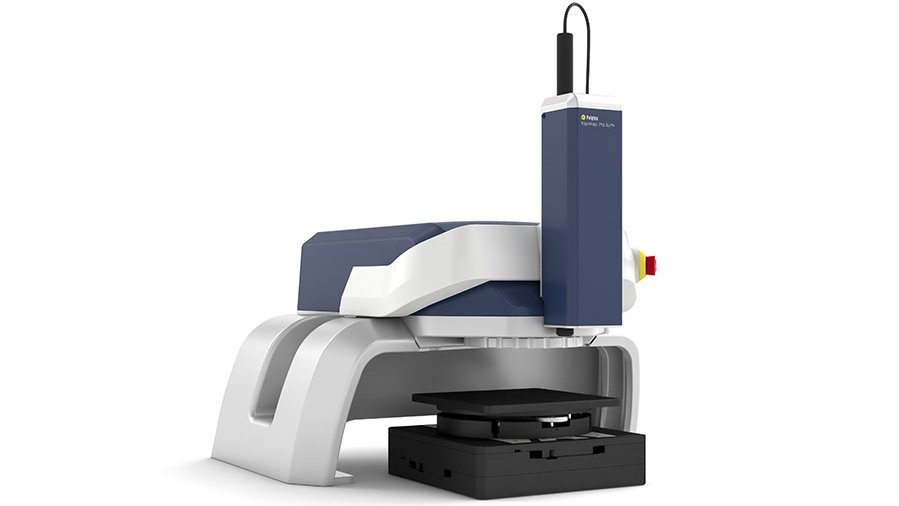
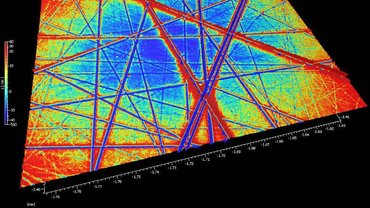
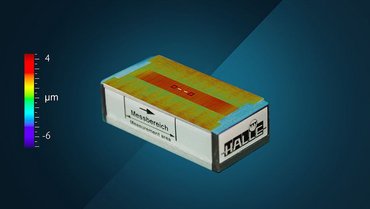
This video shows how to measure and characterize surface roughness on mechanical engineered components, e.g. polished surfaces using non-contact optical surface profilers like the TopMap whitelight-interferometers. Choose your magnification, benefit from motorized turret and the automatic Focus Finder for areal 3D roughness measurement and evaluation. Manage and load your individual and predefined measurement recipes for simplified quick starts of 3D roughness evaluation and easily report and share your insights on roughness evaluation e.g. according to ISO 25178 and more.
ISO for profile and areal surface evaluation
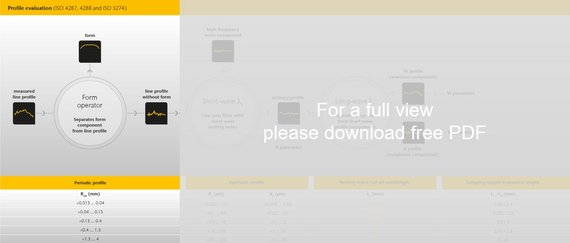
The measurement chains for the areal or profile-based surface evaluation are described in ISO 25178 or ISO 4287, they differ from each other with some details.
