Keeping tolerances tight in injection systems
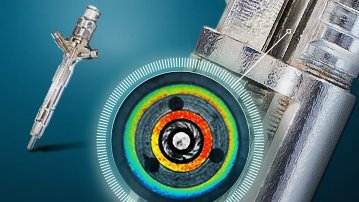
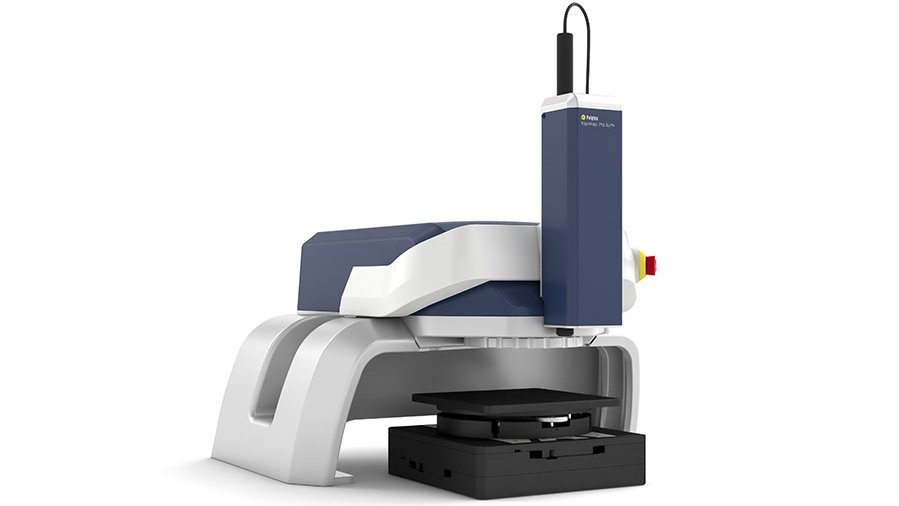
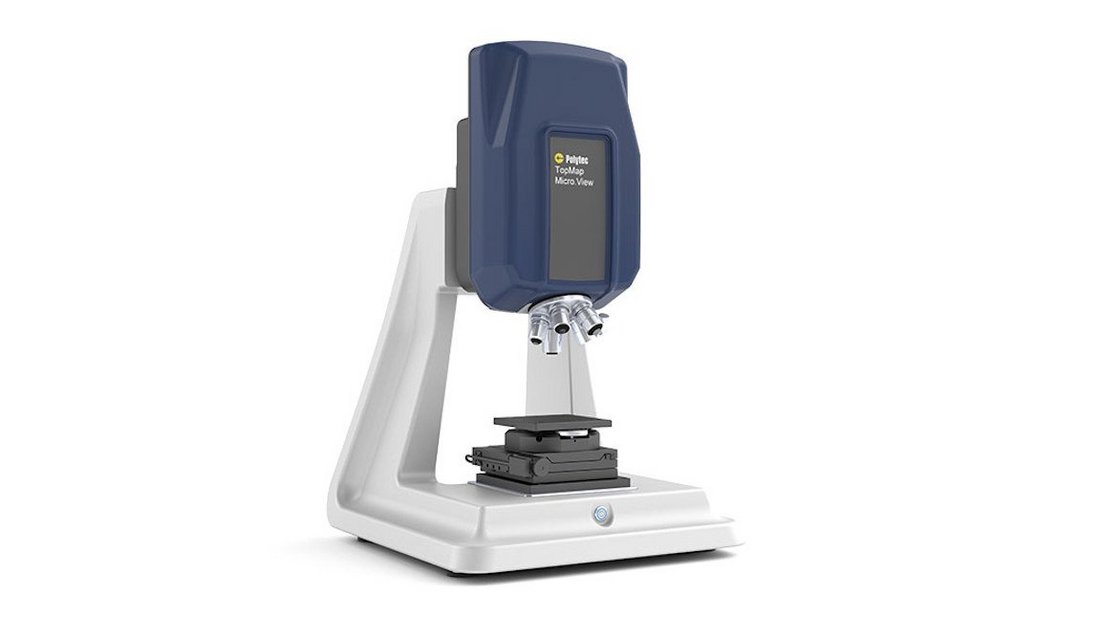
Maximum precision and compliance with the tightest tolerances are essential for ensuring the energy efficiency of subcomponents and the injection system as a whole. To achieve this, it is necessary to determine not only surfaces' roughness, but also form deviation t, using high-precision instruments with a view to controlling a reliable and high-quality manufacturing process. And what should you use to complete these measuring tasks? The surface measurement systems from Polytec, of course! They are based on the principle of white-light interferometry and achieve extremely high nanometer resolution. They make “in-line” surface characterization - in other words, performing measurements during production - quick and easy for you. The results you achieve in doing so are traceable and comply with both national and international standards.
How do you control flatness and quality of your injection system components?

Inspecting roughness and flatness on sealing surfaces
The demands placed on modern fuel injection systems in the automotive industry are very high to ensure that fuel can combust in an ever cleaner and more efficient way. To meet these increased expectations made of the injection process, the individual components’ surfaces must be manufactured with very tight tolerances. This is a task where Polytec surface measurement systems really do play to their strengths.
