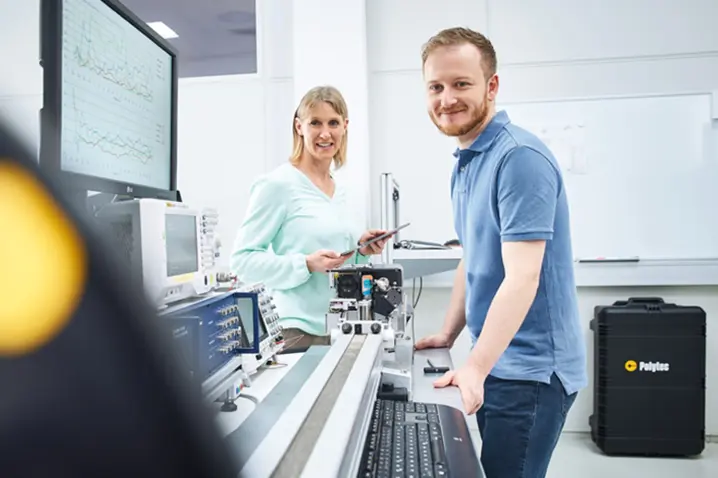
The right measurement solution—without tying up capital.
You need precise, reliable measurement data to make informed, sustainable decisions. But, when budgets are tight or needs are temporary, an outright investment in new equipment is not always the best option. Reasons often include:
- Limited or restricted budget
- The need for financial flexibility
- Preference for OpEx over CapEx
- Temporary or project-based measurement needs
That is where PolyFlex comes in. Our scalable service options are designed to meet your technical goals while aligning with your financial strategy—so you can move forward without compromise.
PolyMeasure, PolyRent or PolyLease:
Your flexible options to measure what matters.
With PolyFlex, you get tailored solutions for highest measurement flexibility—whether through leasing, equipment rental, or measurement as a service. We provide exactly the support you need to make sustainable business decisions, without the need to invest in your own system
PolyMeasure—Let us do your measurement
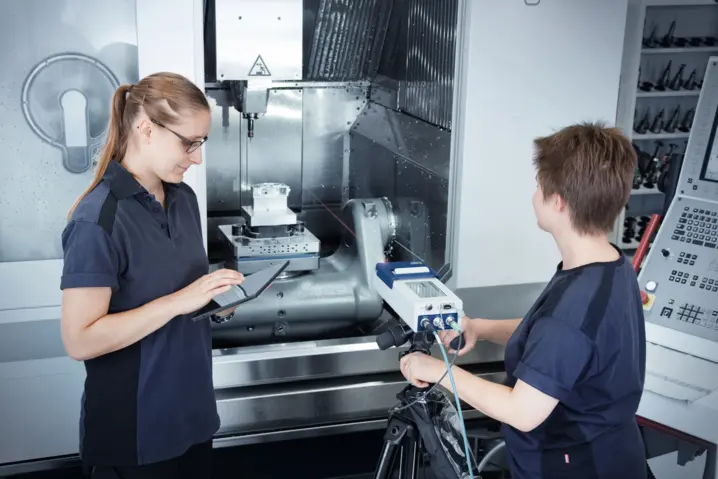
Sometimes the most efficient way to solve a measurement challenge is not to operate the equipment yourself—but to rely on those who know it best. With PolyMeasure, you gain direct access to our technology and expertise without needing to invest in hardware or training.
Ideal for one‑offs, troubleshooting, peak demand and your resources are limited. Our experts perform measurements for or with you—at one of our Polytec labs or at your site.
Temporary access to measurement equipment
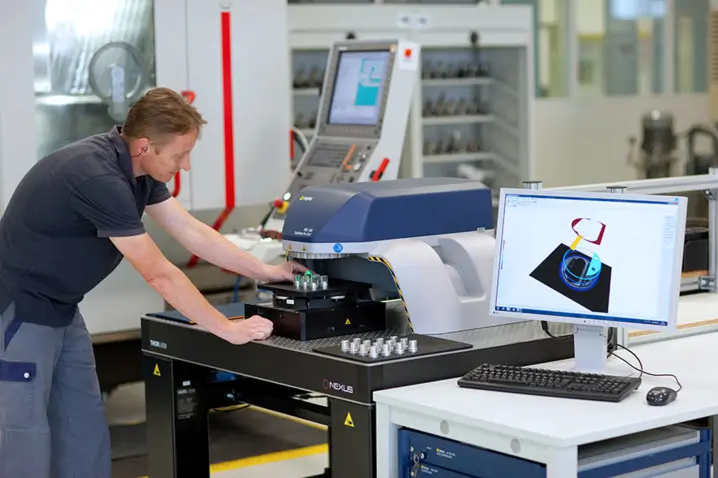
Sometimes the investment budget does not provide the flexibility so you can measure what matters. Rent the equipment you need for a defined short-term period with PolyRent.
Deploy a current system for weeks to months without CapEx. Includes calibration and technical support. Perfect for bridging downtime, trials or temporary capacity.
Your benefits: faster time‑to‑value, reduced risk, budget flexibility, easy scaling.

Long-term technology leasing
With PolyLease, you gain long-term access to advanced measurement systems without the need for an immediate capital investment. This option is ideal when you need consistent measurement capabilities, but prefer financial flexibility or want to keep open the option to return or purchase later
Your benefits: higher budget flexibility by keeping capital free for other investment, reduced risk, easy scaling.

PolyFlex - some project examples
PolyMeasure:
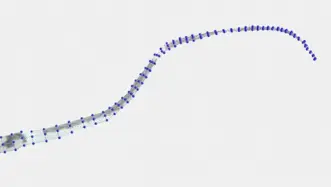
Aircraft turbine FEM validation
Within a week a full-field 3D scanning vibrometer to validate simulation models with high-resolution vibration data.
PolyMeasure:
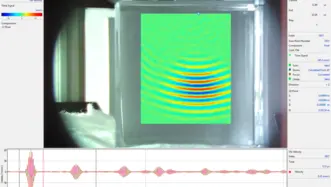
Optimization of ultrasonic tool
Validating directional behavior, quantifying amplitude distribution, and supporting improved simulation and instrument design—completed in two days.
PolyMeasure:
Ultrasound transducer optimization
Within 1-2 days the wave propagation in water was measured with a HeNe laser scanning to optimize an ultrasonic medical transducer.
PolyRent:
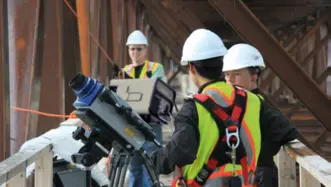
Structural vibration monitoring
To assess vibration in a bridge, a VibroFlex Range system was rented for 2 weeks. With a short onboarding training, the team was ready to get reliable measurement results.

PolyRent:
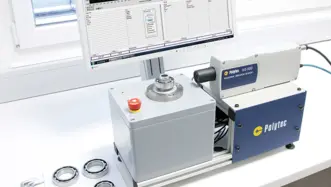
Characterize Haptic Displays
Customer rented a Scanning Vibrometer for 1 week to better understand and test display behavior and dynamics.
PolyLease:
For production control
After updating the production workflow, production quality was monitored using an IVS-500. At the end of the leasing term, the product was purchased at an attractive residual value..
Let us find the right PolyFlex option—together
Not sure which option fits best? We will work with you to understand your technical requirements and align the best solution with your budget. Together, we will define:
- Measurement goals – What data or results you need
- Technical requirements – The right equipment for you
- Project timeline – Duration and scheduling needs
