Combined top & bottom topography in a single shot
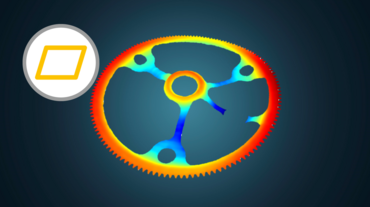
Functionality and quality of industrially manufactured components relies on well-controlled and well-monitored machining processes. Quality control, close to line or inline quality inspection often uses surface metrology for evaluating form, roughness and other surface parameters. Sometimes, the combined look on front and back sides of a workpiece is indispensable for a comprehensive quality analysis.
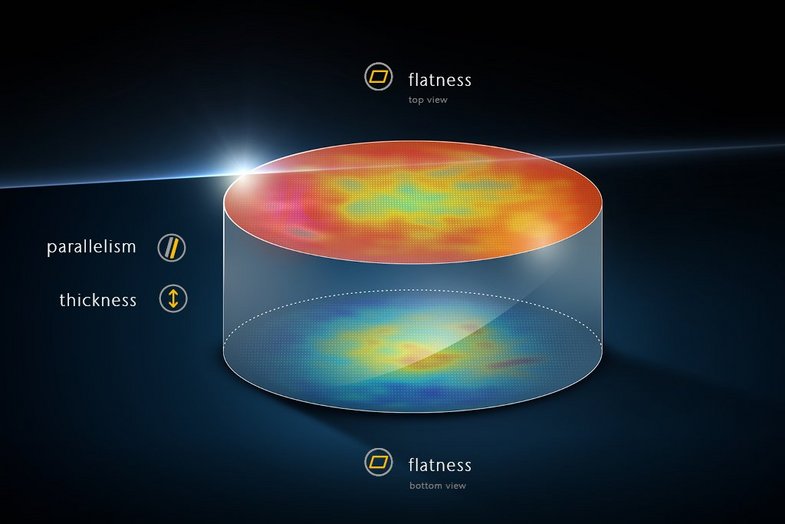
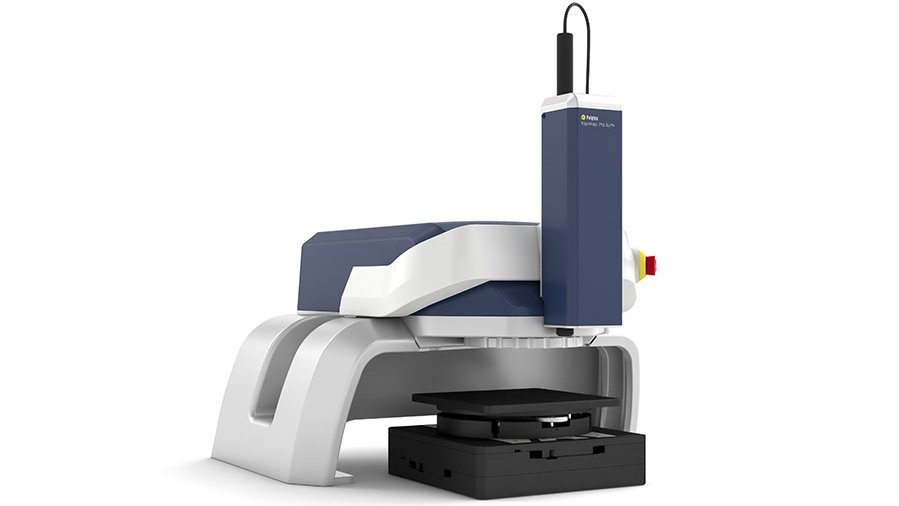
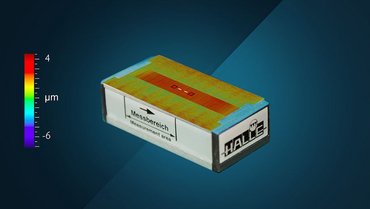
Now, Polytec enhances the perspective for valid measurement results, providing a combined top & bottom topography in a single, but areal and direct measurement.
Top + bottom topography needed?
Exclusive workshop @HE-ARC Neuchâtel - Switzerland 28th of Jan, 2025
This platform offers exclusive expert talks from industry and research, featuring professors from Haute-École ARC in Neuchâtel, Switzerland- revolving precision mechanics and engineering, ISO conformity, (sub)nm topography and roughness measurement! Plus we measure your samples.
Cette plateforme propose des conférences exclusives d'experts de l'industrie et de la recherche, avec des professeurs de la Haute-École ARC de Neuchâtel, en Suisse, sur la mécanique et l'ingénierie de précision, la conformité ISO, la topographie (sub)nm et la mesure de la rugosité ! De plus, nous mesurons vos échantillons.

Flipping or swapping the sample
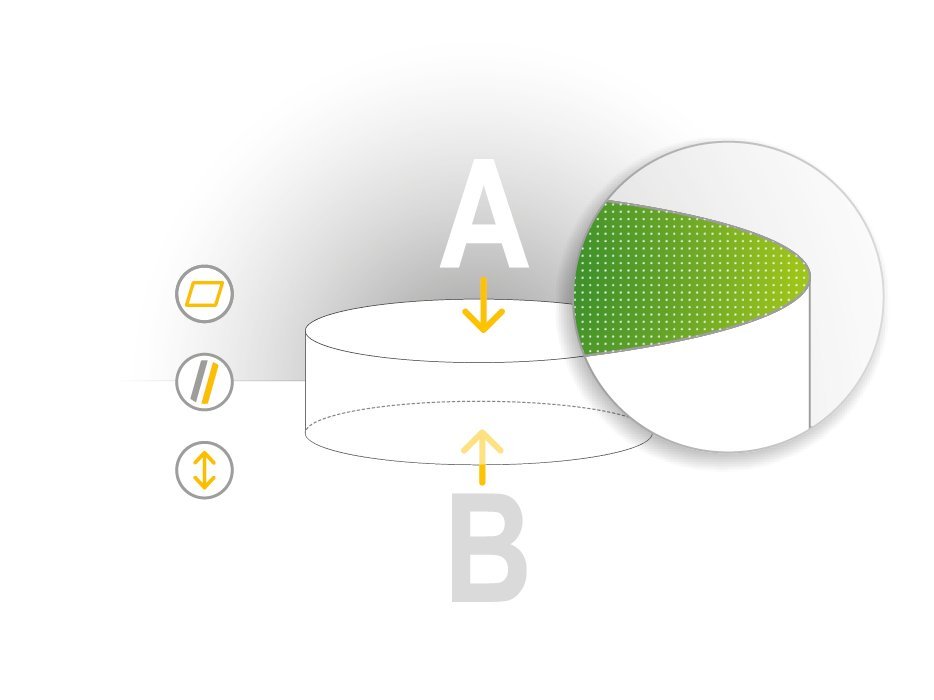
In some cases front and back sides can be measured by flipping the sample. This is mostly realized by a rotational unit and requires a complex alignment procedure. The FTP concept of Polytec measures without need of rotation, nor flipping, thus avoiding additional sample alignment for a faster and more simple operation.
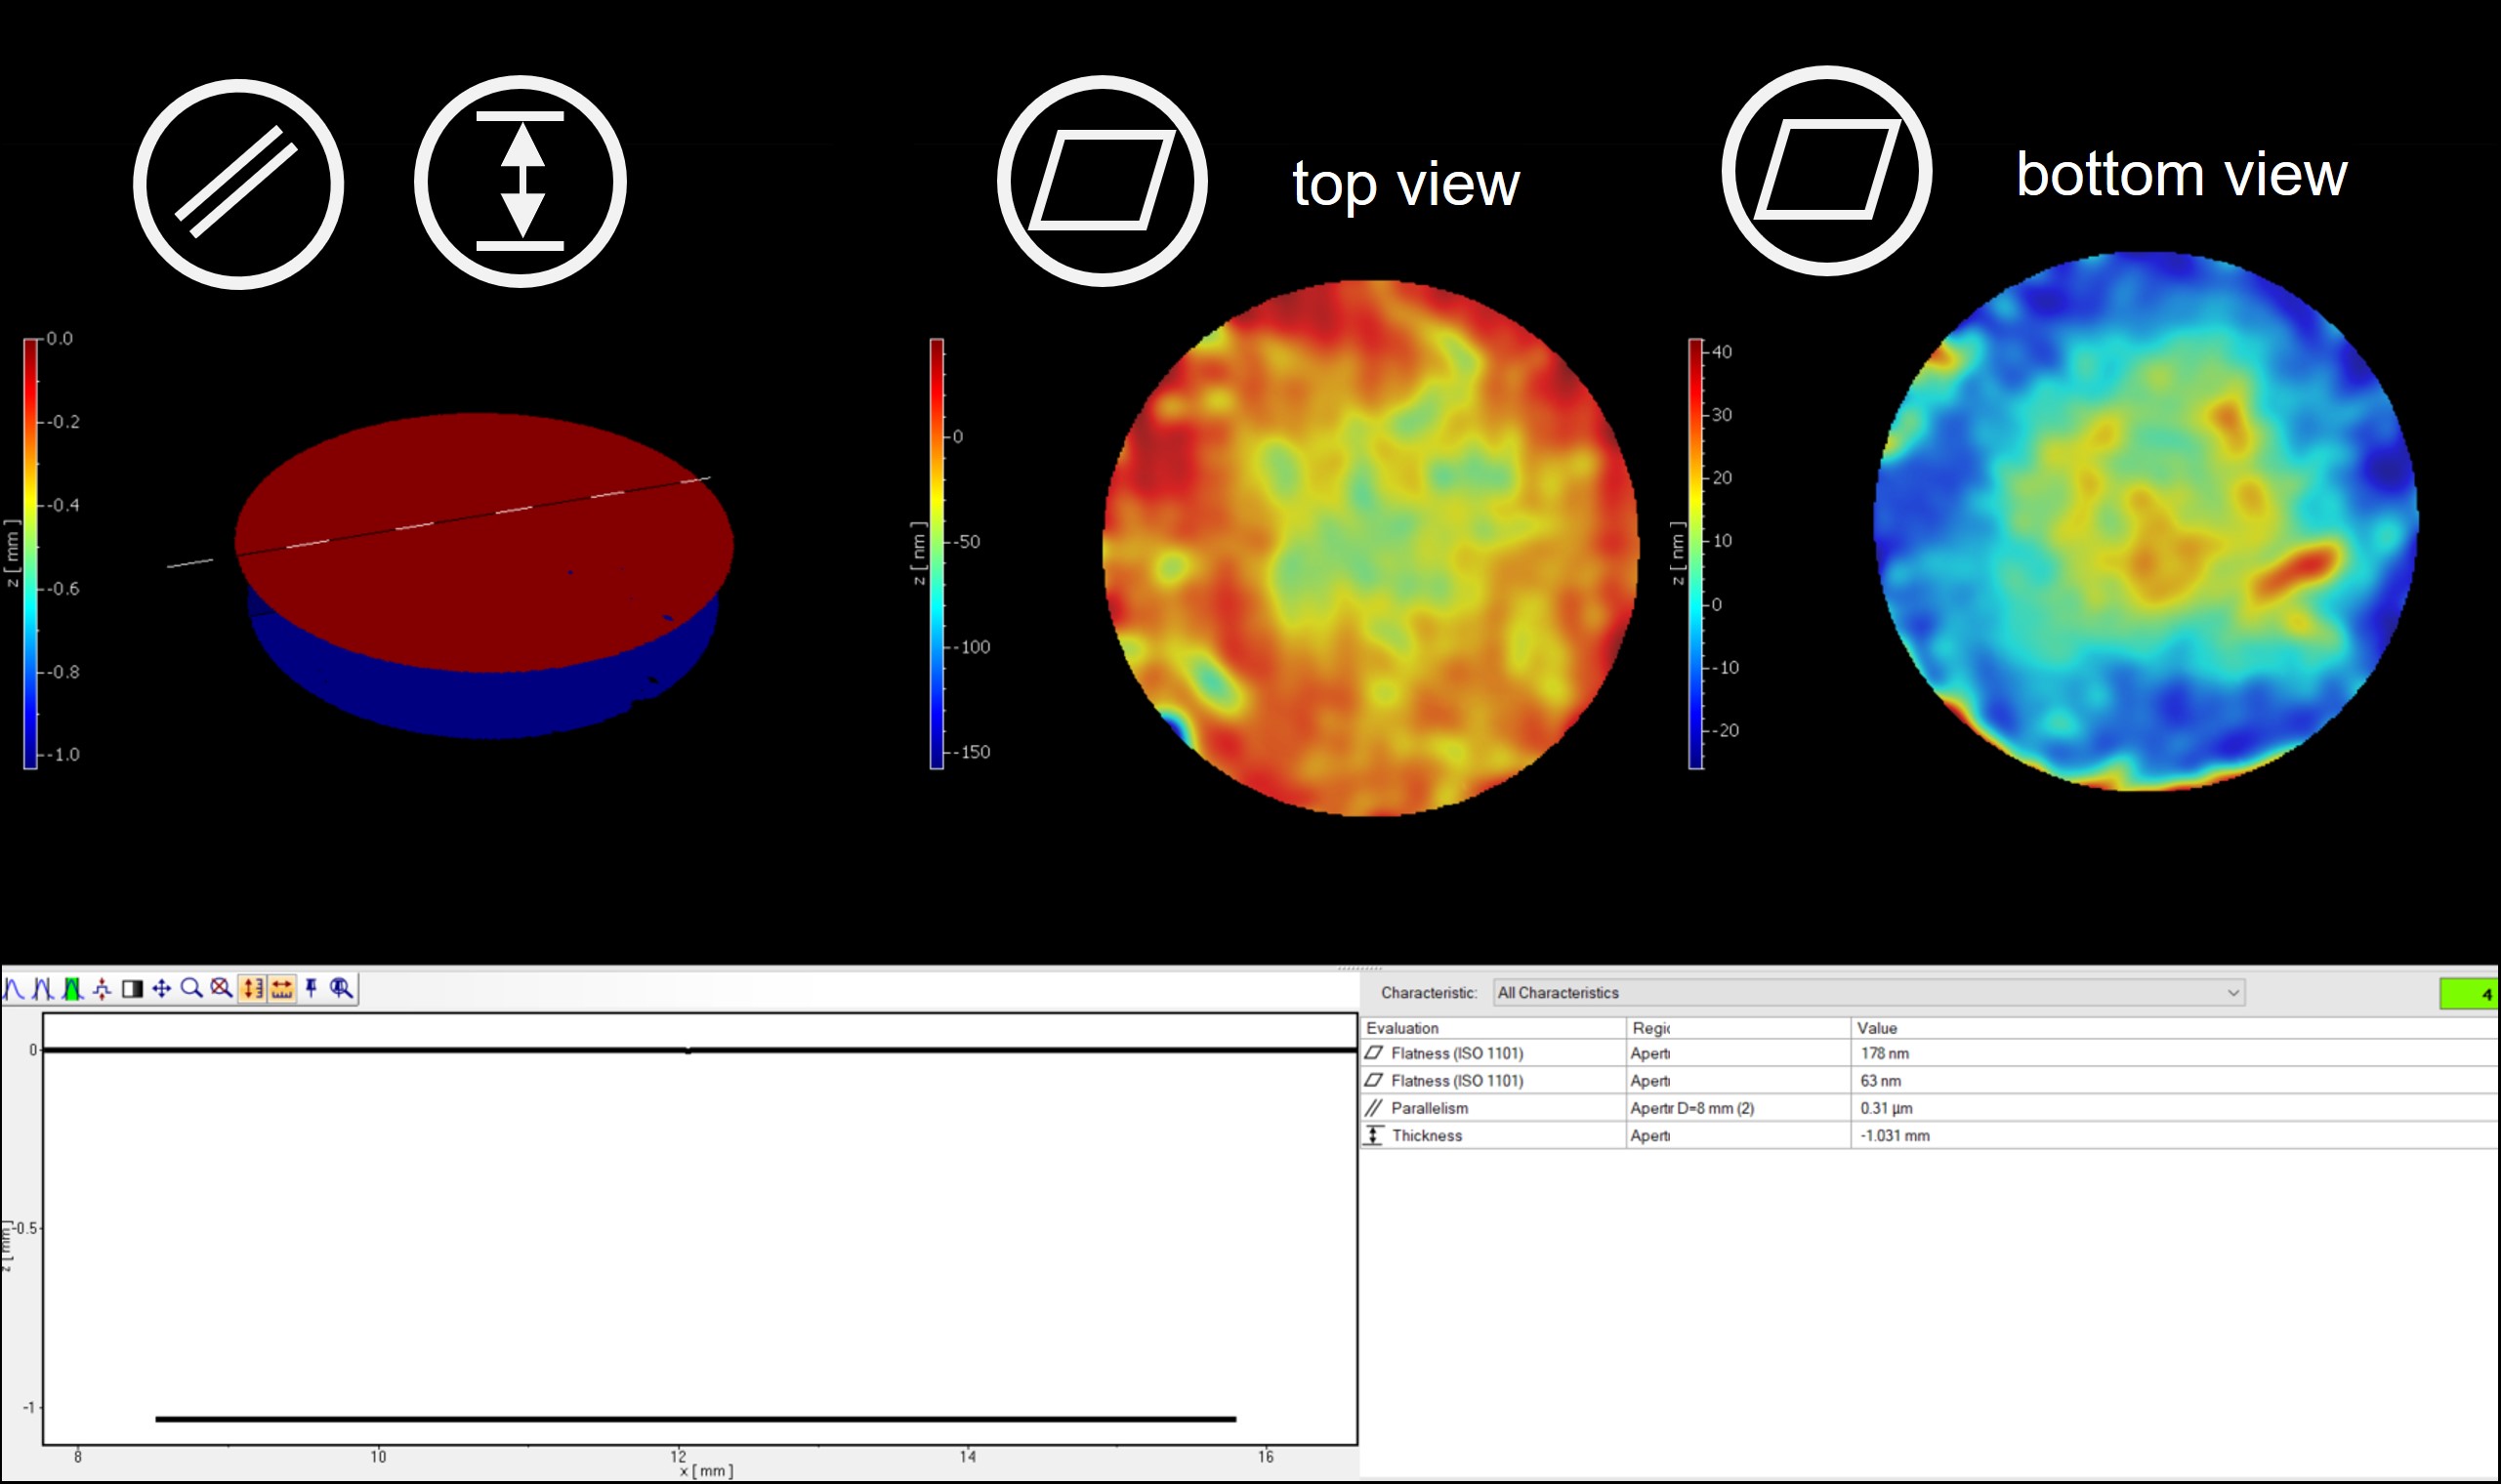
We provide flatness, thickness, parallelism in a single shot

Indirect vs direct measurements
Indirect measurements use a reference surface to characterize the backside of a sample due to lack of access to the original sample surface. These standard procedures often lead to time-consuming sequential measurements of a workpiece. Plus, the results base on the assumption of the reference surface being perfect.
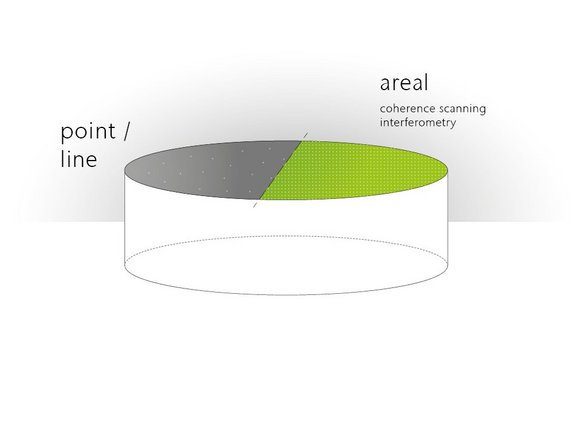
Data density depending on line vs areal profiling
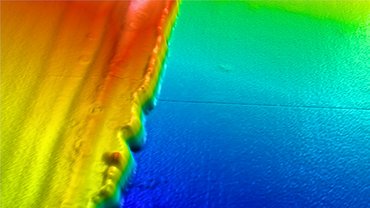
Common single-point or line-profile based evaluations can only gather a limited measurement points of the true 3D (areal) surface. This results in time-consuming procedures along with the sacrifice of either higher point density or throughput. Here, the Polytec FTP combined measurement approach provides a non-contact, high data density or areal measurements from both top and bottom view in a single measurement.
