Table-top optical surface profiler

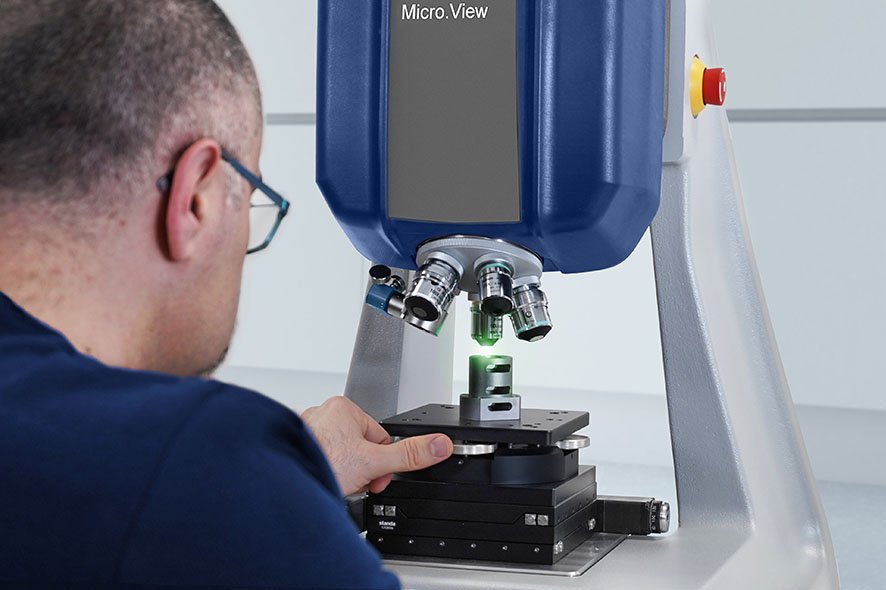
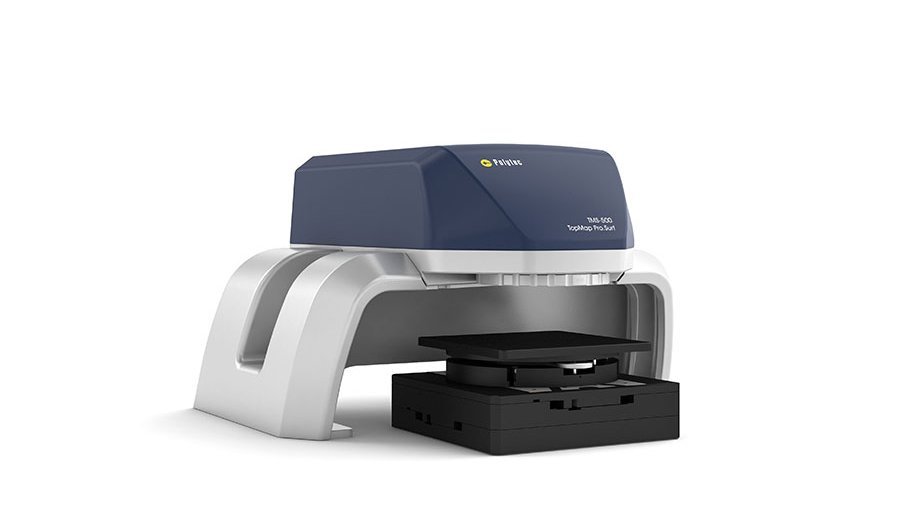
TopMap Micro.View® is an easy to use and compact optical profiler. Combine exceptional performance and affordability with this powerful metrology solution. With an extended 100 mm Z measurement range and the CST Continuous Scanning Technology, Micro.View® measures complex topographies at nm resolution. This convenient table-top setup features integrated electronics, with the smart focus finder simplifying and speeding up the measurement procedure.

Highlights

  • Measure surface finish in a compact setup
  • Non-contact measurement of 3D topography, roughness and texture
  • 100 mm z measurement range with CST Continuous Scanning Technology
  • Excellent lateral resolution
  • Choose from application-specific objectives

Dear visitor, in order to be able to watch our videos please accept the cookies. All information about the usage of cookies can be found in our privacy policy

Microscope system for surface profiling

White-light brings out the finest details of your precision engineered surfaces. Microscope objectives allow for characterizing the surface finish and quantifcation of how rough or smooth your workpiece surfaces is. Benefit from motorized surface measurements and automated positioning. The Focus Finder assists you automatically, so you can focus on your surface quality.

Small footprint with expanded capability

Benefit from the optional ECT Environmental Compensation Technology, securing reliable and accurate measurement results even in noisy and challenging production environments. Micro.View® is the cost-effective quality control instrument for inspecting precision engineered surfaces in both manufacturing and research.

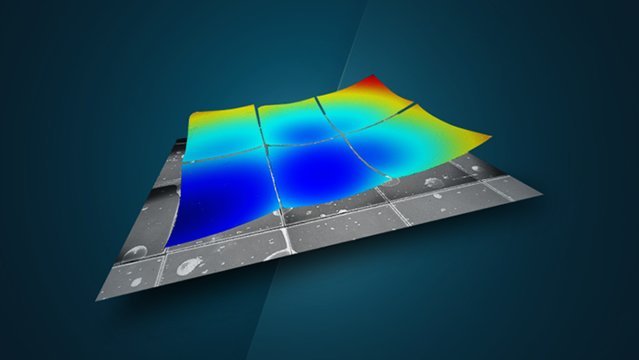
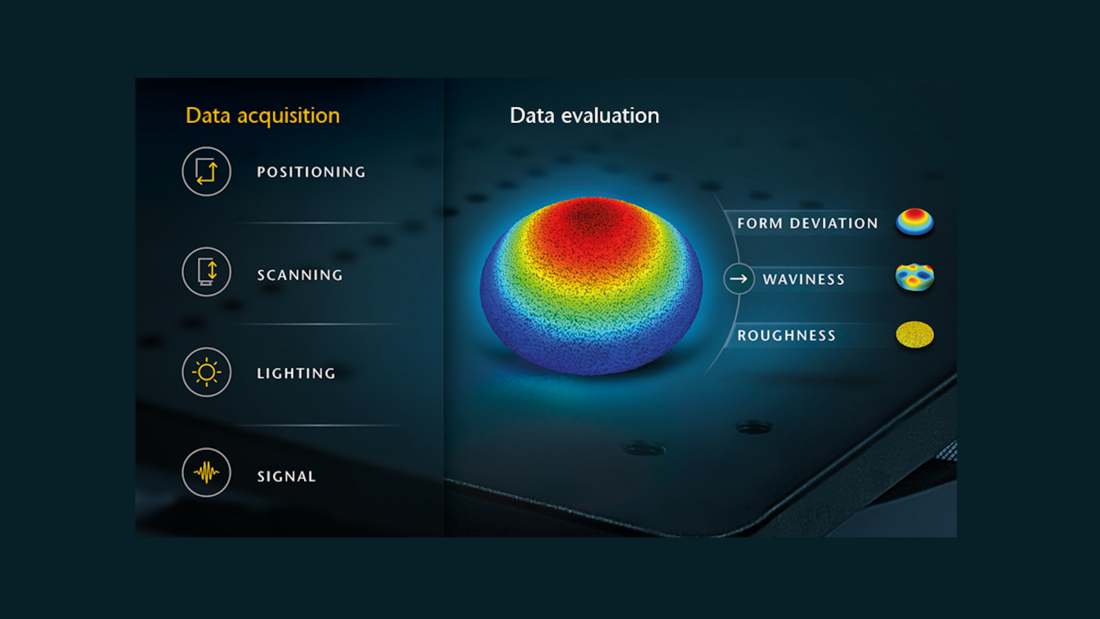
Characterize small details and microstructures in 3D, evaluate areal surface roughness Sa with sub-nm resolution and evaluate even steep angles with interferometric precision. Micro.View and Micro.View+ are surface profilers based on Coherence Scanning Technology (CSI) offering an excellent vertical resolution regardless the objective magnification. With Continuous Scanning Technology (CST), 100 mm Z-travel and an equal 100 mm vertical measuring range, 1.3 MP to 5 MP camera, a variety of objectives from 2.5X (0.6X!) to 111X including long working distance options and glass compensation, and preset ISO parameters including ISO 25178, ASME B46.1, ISO 4287, ISO 13565, ISO 21920... 

TopMap Micro.View: Next generation optical surface profiling

Free guide on how to: Measurement System Analysis

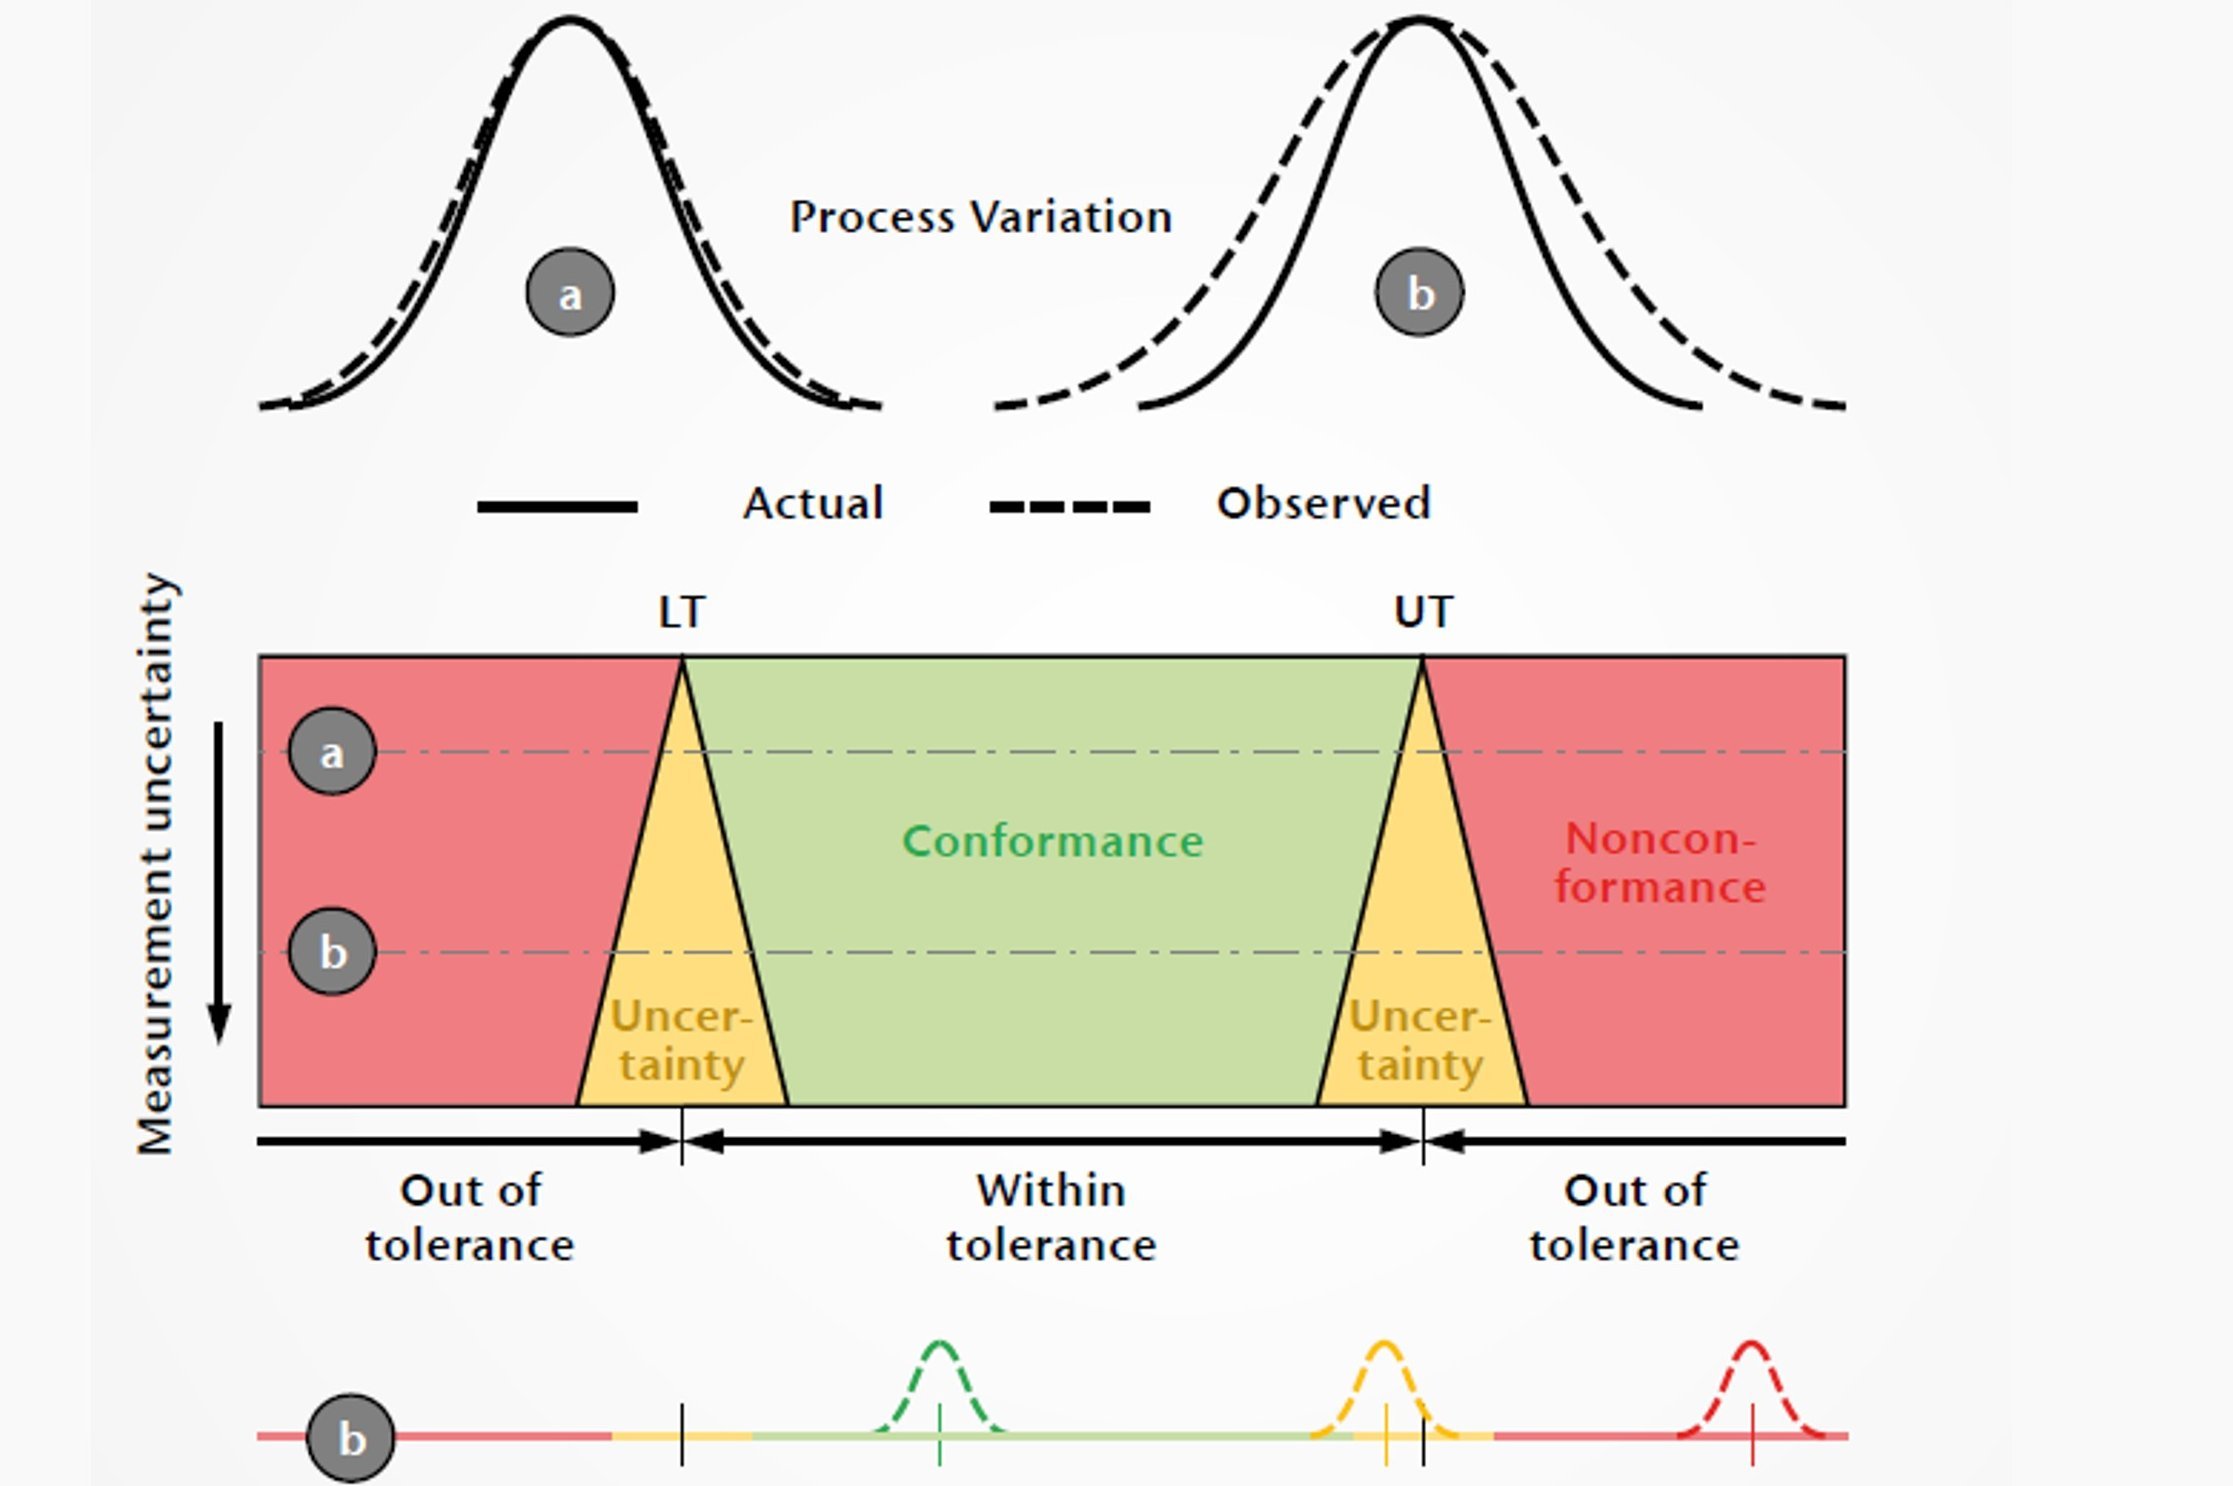
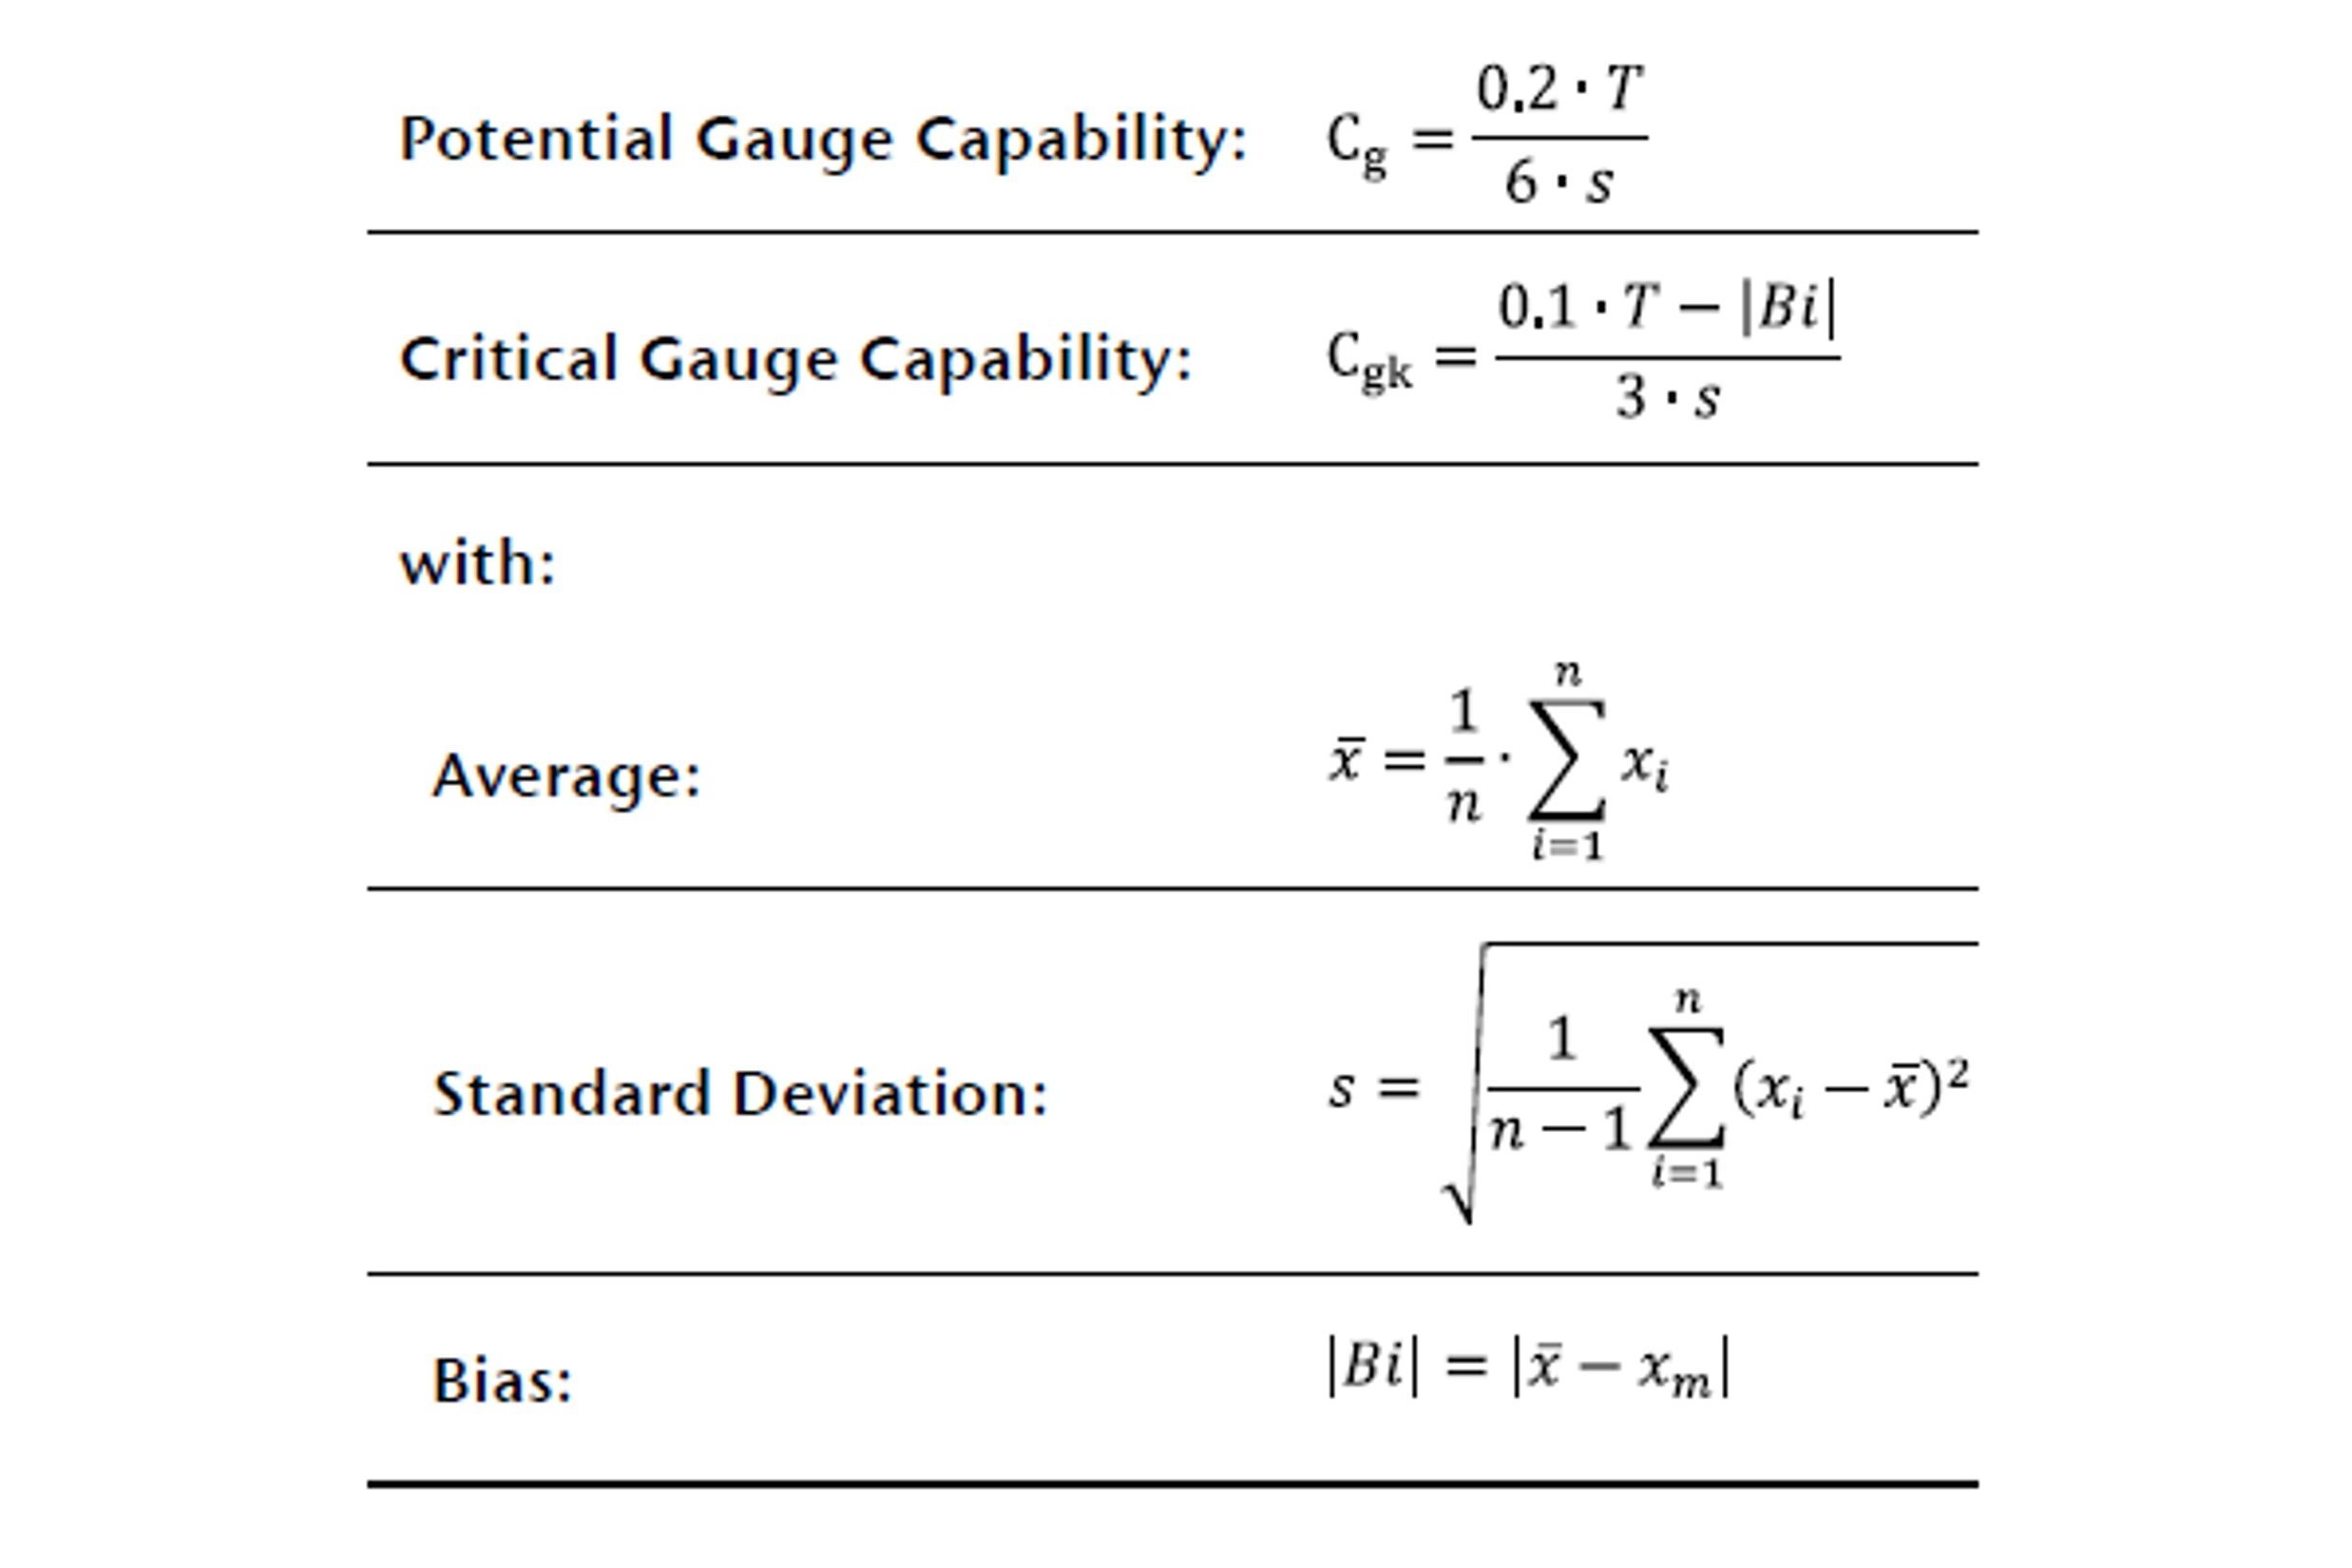
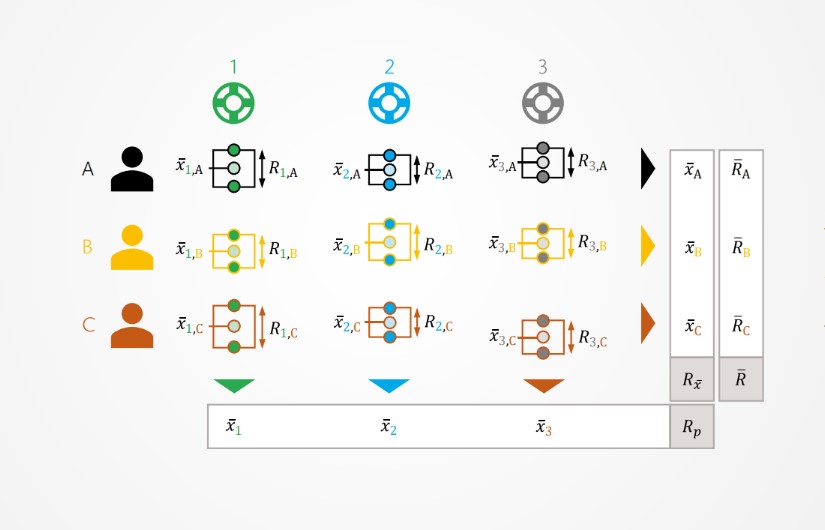
Every measurement - whether with tactile or optical surface profilers - is subject to uncertainty. The measured values obtained are the basis for quality-controlled production and are thus a key component of quality assurance. However, the correctness of any conclusion drawn by a measurement depends not only on the suitability of the parameter, but also on how accurately and how reliably the measured values reflect the real conditions. Only if the measured value can be determined with a sufficiently small uncertainty in relation to the tolerance of the characteristic, the measurement process is suitable for the inspection task. This paper describes approaches and helpful capability figures of Measurement System Analysis (MSA).

Read in the free guide how to deal with measurement uncertainty for your Quality Assurance!

Dear visitor, in order to be able to watch our videos please accept the cookies. All information about the usage of cookies can be found in our privacy policy

Precision measurement is about experience, about expertise and about experts and technology we trust in. Take a look behind the scenes, learn more about the development and about the people behind TopMap and meet the PolyXperts. Come join our journey!

Join our journey